In this article, we aim to uncover the potential of the FX20 in revolutionizing industrial manufacturing. We will delve into its major applications across diverse industries, understanding how it is reshaping traditional approaches and unlocking unparalleled opportunities for progress.
Beyond its impressive technical specifications, the FX20 has made a resounding impact on the manufacturing industry. From accelerating production timelines to optimizing resource utilization, we will explore the profound effects it has brought to manufacturers worldwide. Its contribution to sustainability and sustainable practices further cements its significance in the global manufacturing landscape.
The FX20: A Closer Look at Its Remarkable Features
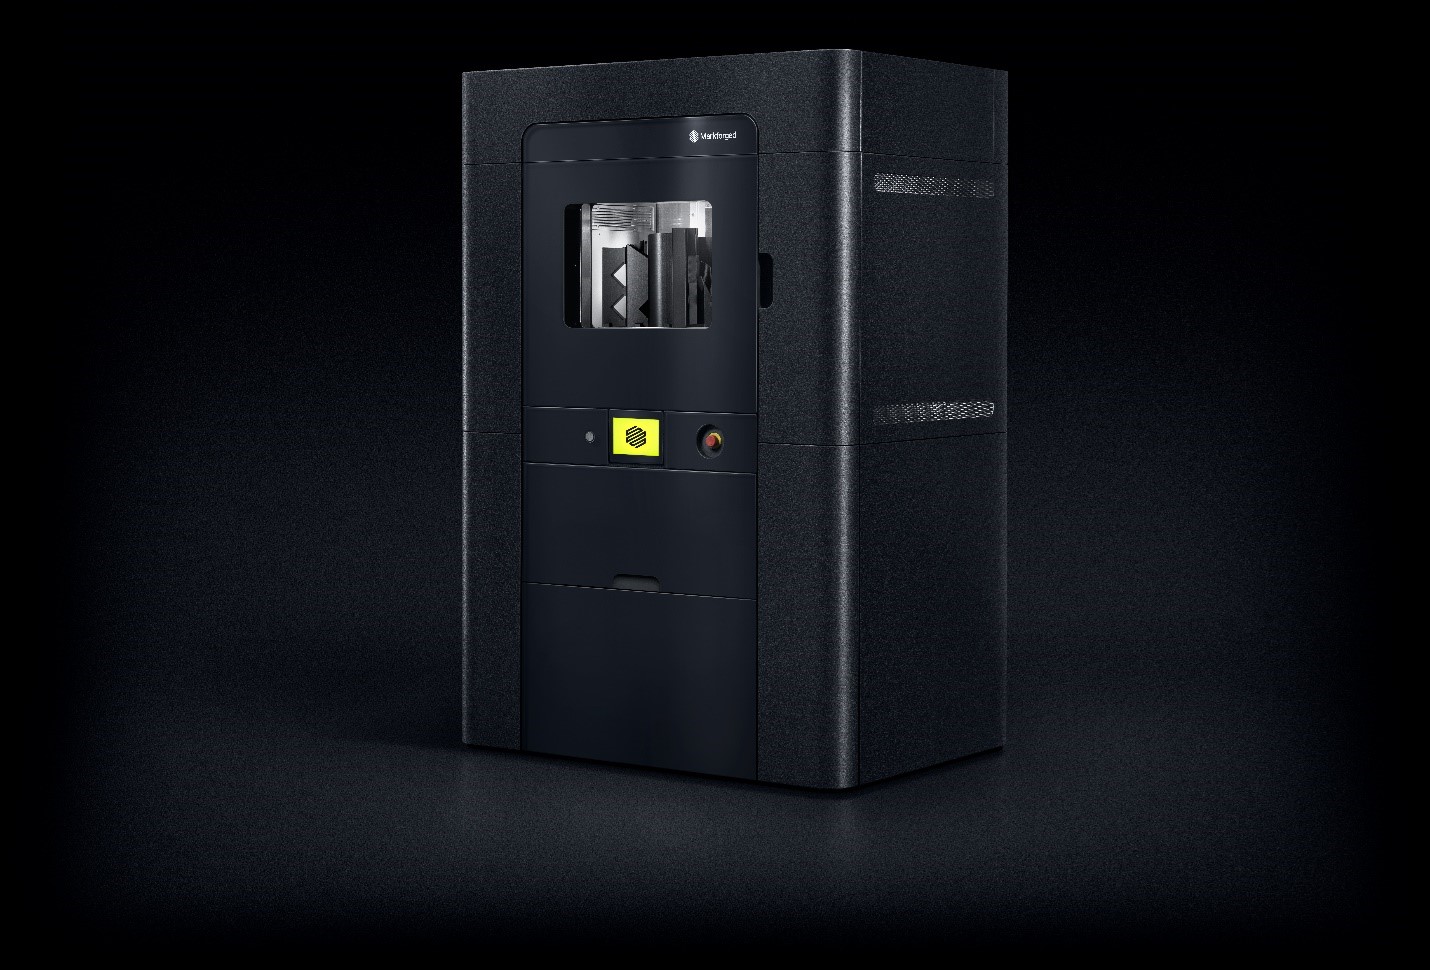
The FX20 3D printer by Markforged is not just another large format 3D printer. It’s a true game-changer with an array of remarkable features that set it apart from the crowd. Let’s delve into some of its standout capabilities:
- Massive Build Volume: The FX20 boasts an expansive build volume, allowing the creation of large-scale parts in a single print. With dimensions of 525mm (Width) x 400mm (Depth) x 400mm (Height), this 3D printer can tackle ambitious projects.
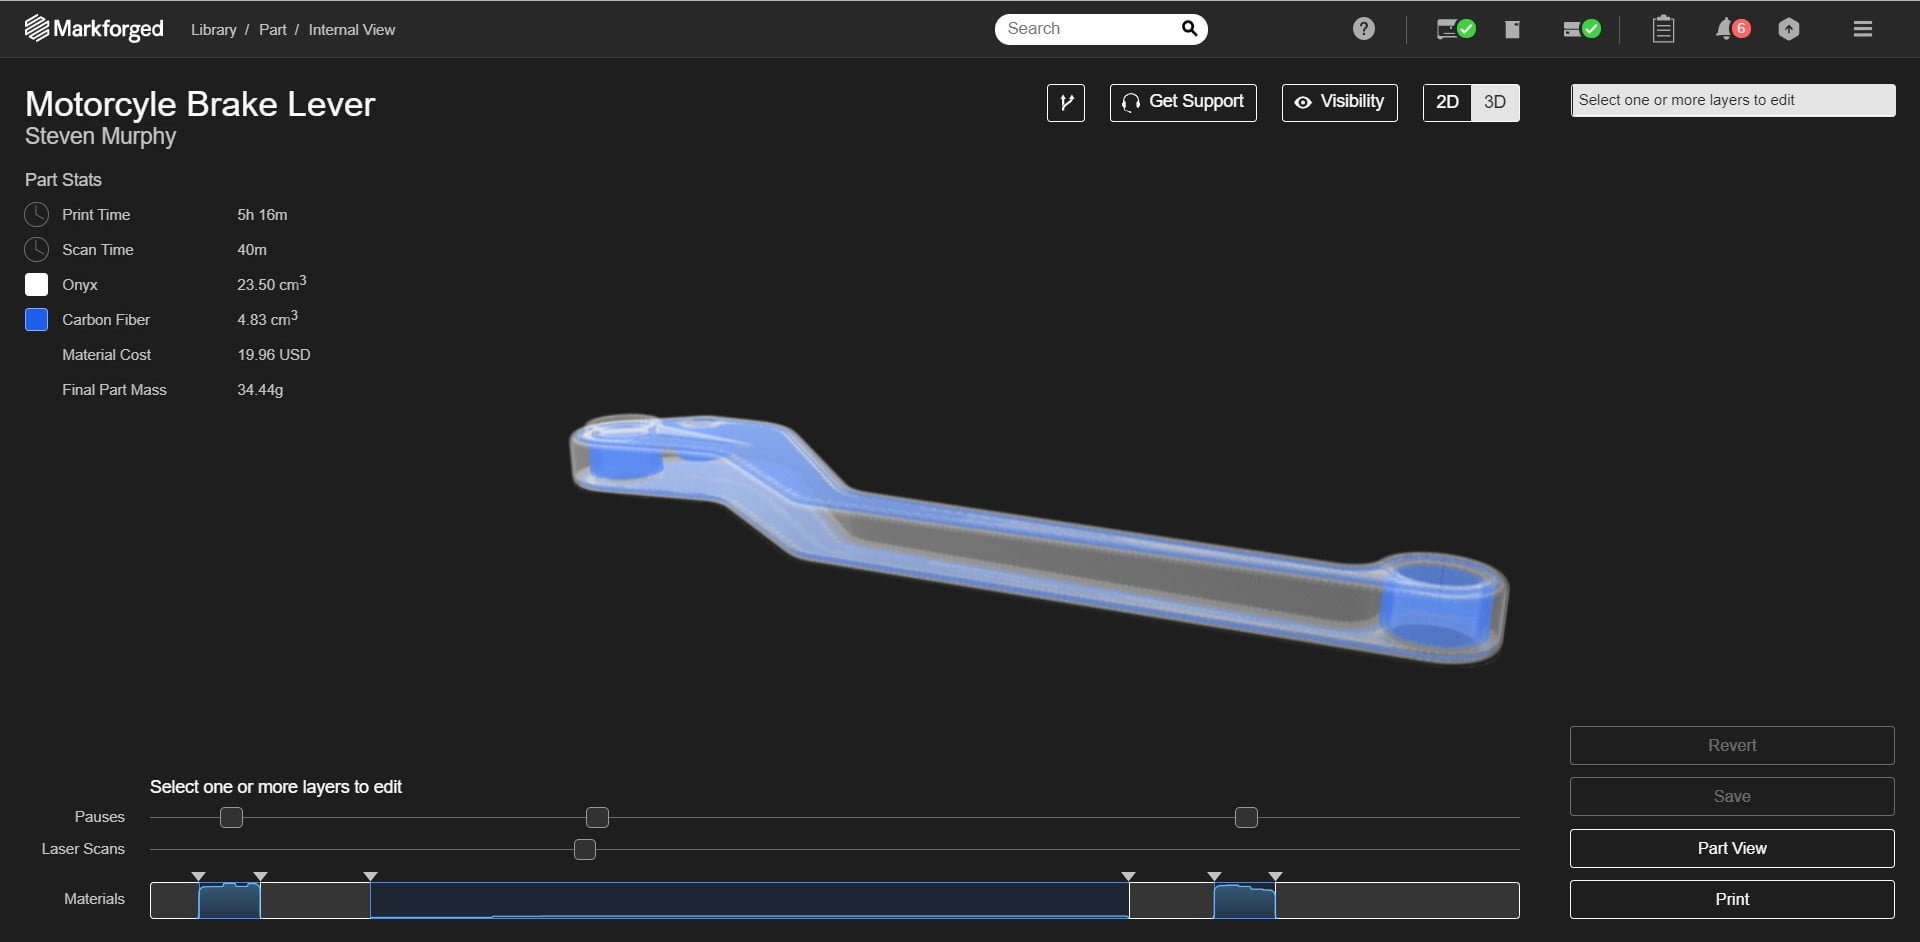
- Continuous Fiber Reinforcement: Taking additive manufacturing to new heights, the FX20 can reinforce ULTEM™ 9085 Filament with continuous carbon fiber. This groundbreaking combination results in parts that are not only strong but also lightweight – a perfect fit for demanding applications in aerospace, automotive, and more.
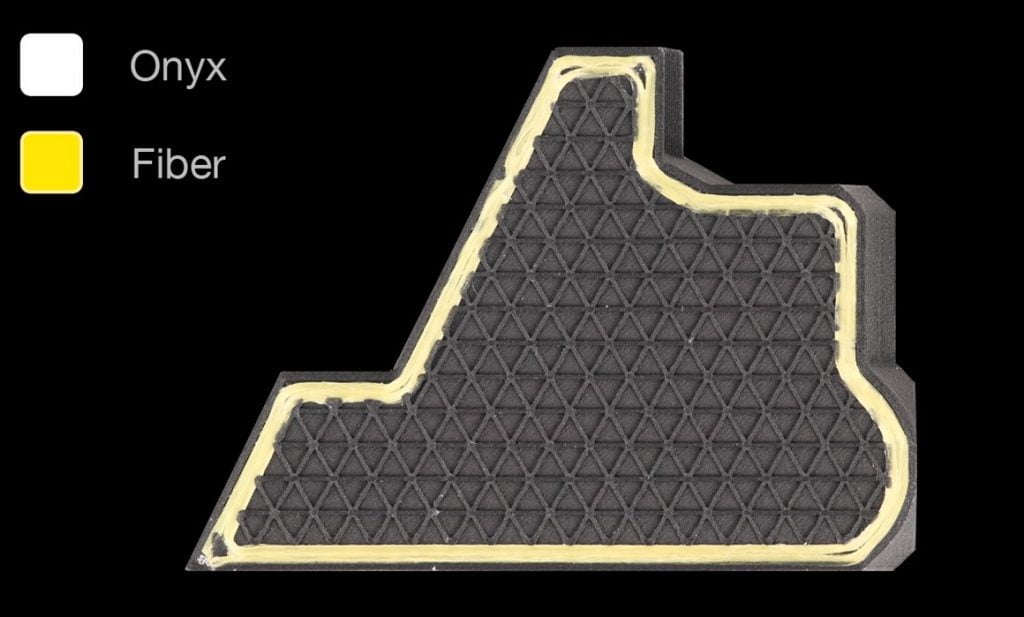
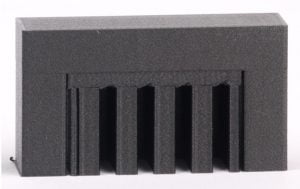
- Closed Cell Infill with Continuous Fiber: The FX20’s internal part geometry features a closed-cell infill design, enhanced with continuous fiber reinforcement. This unique combination ensures superior structural integrity and durability, making it suitable for producing functional end-use parts with exceptional mechanical properties.
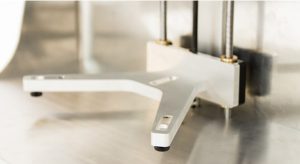
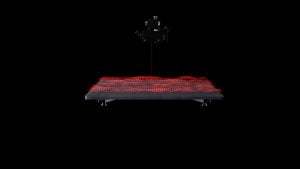
- Precision Machined Aluminum Print Bed: The FX20 is built to deliver precision and reliability in every print. Its precision machined aluminum print bed provides a stable and level surface, guaranteeing consistent and accurate results with every layer.
- Sensor-Driven Production: With a sensor-driven production system, the FX20 ensures breakthrough reliability and performance. Real-time feedback from a variety of sensors optimizes printing processes, making it easier than ever to achieve consistently high-quality prints.
- User-Friendly Interface: Despite its advanced capabilities, the FX20 remains remarkably user-friendly. The 7-inch touchscreen interface simplifies printer control, allowing users to effortlessly manage and monitor prints with ease.
With these extraordinary features, the FX20 empowers engineers, designers, and manufacturers to bring their most ambitious ideas to life, without compromise, whether you’re exploring aerospace innovations, enhancing production workflows, or pioneering new frontiers in industrial manufacturing.
Industrial Manufacturing Meets the FX20
The FX20 stands tall with its exceptional versatility and capabilities, finding extensive applications across industries:
- Aerospace Advancements: The FX20 empowers the aerospace sector with its ability to create flight-ready functional parts. By reinforcing ULTEM™ 9085 Filament with continuous carbon fiber, it produces lightweight yet robust components that can withstand extreme conditions, making it a game-changer for aerospace manufacturing.
- High-Performance Tooling and Fixtures: Manufacturers leverage the FX20 to craft high-performance tooling and fixtures, revolutionizing the production process. The printer’s precision and strength enable the rapid creation of custom tools, leading to reduced lead times and enhanced productivity.
- Large-Scale Production: With an expansive build volume, the FX20 takes on the challenge of large-scale production parts. By eliminating the need for assembly and joining, it ensures the integrity and reliability of critical components.
Impacts on the Global Manufacturing Landscape
The FX20 has brought about a shift in the industrial manufacturing sector, redefining conventional practices and operations:
- Accelerated Speed and Efficiency: With the FX20’s ability to fabricate larger builds at remarkable speeds, manufacturers experience accelerated product development cycles. Rapid prototyping and iteration become the norm, fostering a culture of continuous improvement.
- Cost Optimization: 3D printing with the FX20 significantly reduces production costs. Its precise material usage and minimal waste generation translate to cost-efficient processes, while the elimination of traditional tooling expenses further adds to cost savings.
- Design Freedom and Innovation: The FX20 in partnership with the Digital Forge unlocks unprecedented design freedom, enabling the creation of intricate geometries and customized parts. This newfound flexibility fuels innovation across industries, spurring the development of breakthrough products and solutions.
- Embracing Sustainability: By minimizing material waste and energy consumption, the FX20 supports sustainable manufacturing practices. As industries increasingly focus on eco-friendly approaches, 3D printing plays a pivotal role in achieving environmental goals.
Future Possibilities for the FX20
As technology continues to evolve, the FX20 holds immense promise for the future of industrial manufacturing:
- Advanced Materials and Composites: Ongoing advancements in material development at Markforged promise to expand the FX20’s compatibility with an even broader range of high-performance materials and composites, unlocking new applications and industries.
- Global Collaboration and Co-Creation: The expansion of cloud-based 3D printing platforms like The Digital Forge encourages seamless global collaboration and co-creation of parts. This interconnectedness accelerates innovation and fosters partnerships across borders.
The FX20’s multifaceted applications, significant impacts, and promising future possibilities make it a formidable ally for manufacturers seeking to stay agile, sustainable, and innovative in an ever-evolving landscape.

Any questions? Need help? Ask one of our experts.
Whether you’re ready to get started or just have a few more questions, you can contact us toll-free: