Choosing a CAD platform is a bigger decision than just comparing modeling tools.
Today, engineering teams need to think about collaboration, data management, cloud connectivity, licensing flexibility, training requirements, and even AI-powered productivity tools. Whether you’re replacing an older CAD system, evaluating cloud CAD for the first time, or planning for future growth, the platform you choose will impact your workflow for years.
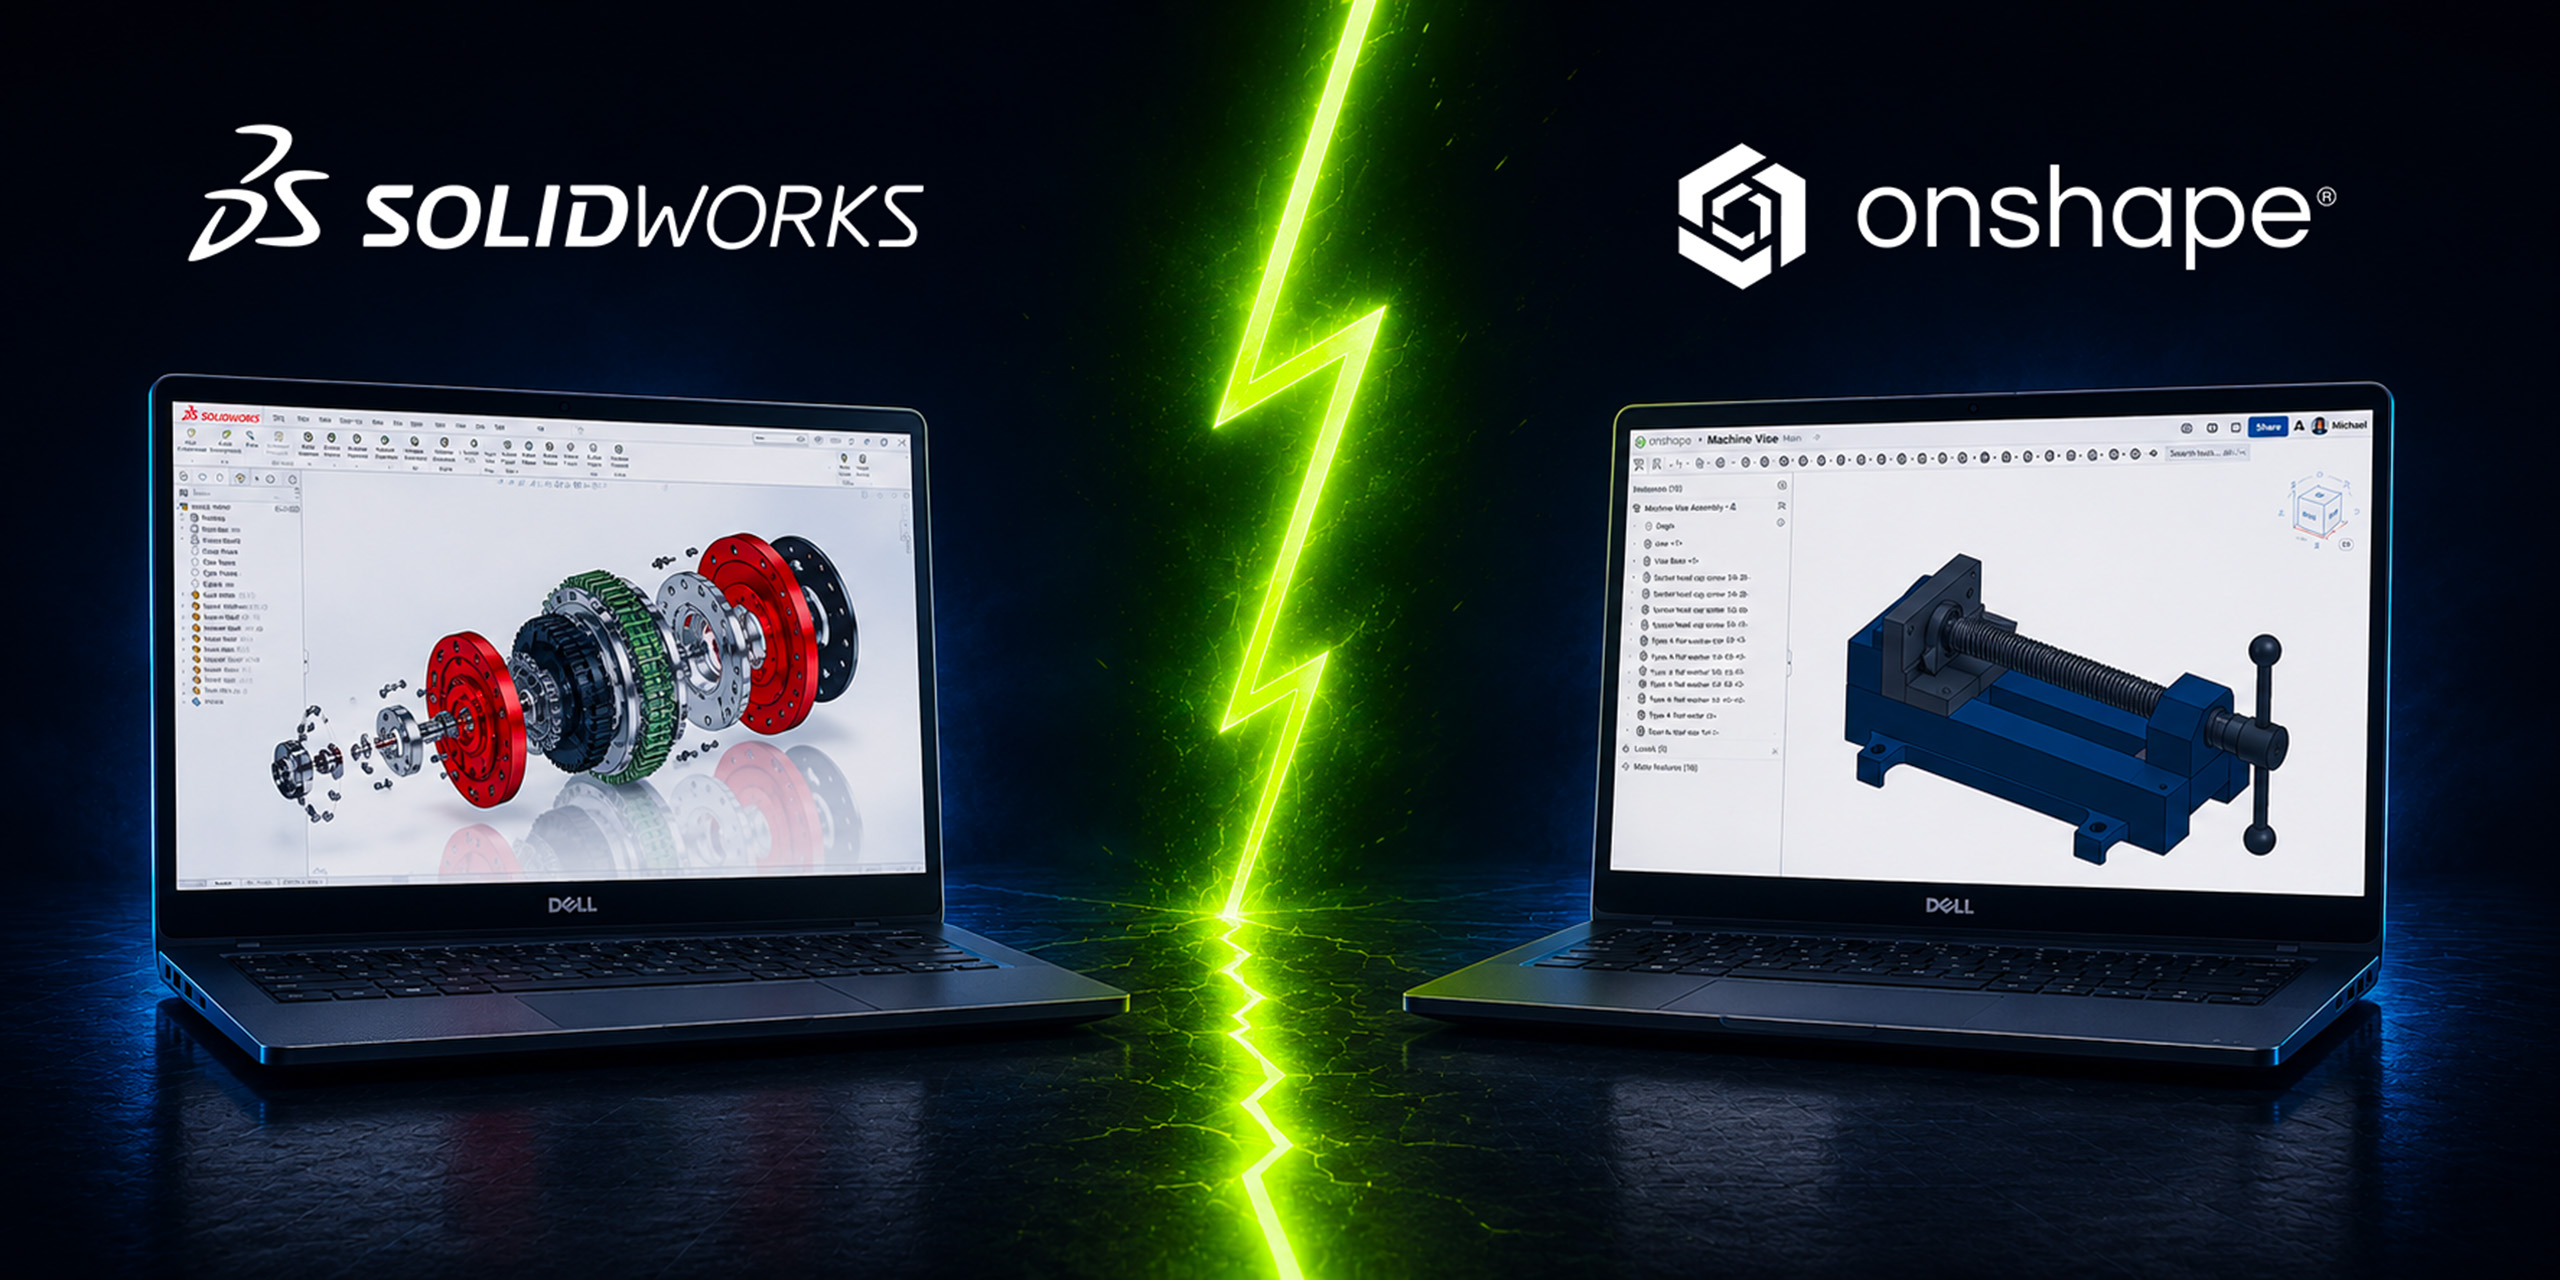
Two of the most common options being evaluated today are SOLIDWORKS Design and Onshape.
Both are professional CAD solutions that support parametric modeling and offer cloud connected workflows. But they are built around very different philosophies.
Let’s break down the differences.
Quick Answer: SOLIDWORKS Design or Onshape?
If your team wants a mature, industry-standard CAD platform with powerful desktop performance, extensive engineering tools, flexible licensing options, and access to the broader 3DEXPERIENCE ecosystem, SOLIDWORKS Design is typically the stronger choice.
If your priority is a browser only CAD environment with simplified deployment and built-in cloud collaboration, Onshape may be worth considering.
The right answer depends on your team’s workflows, product complexity, and long-term goals.
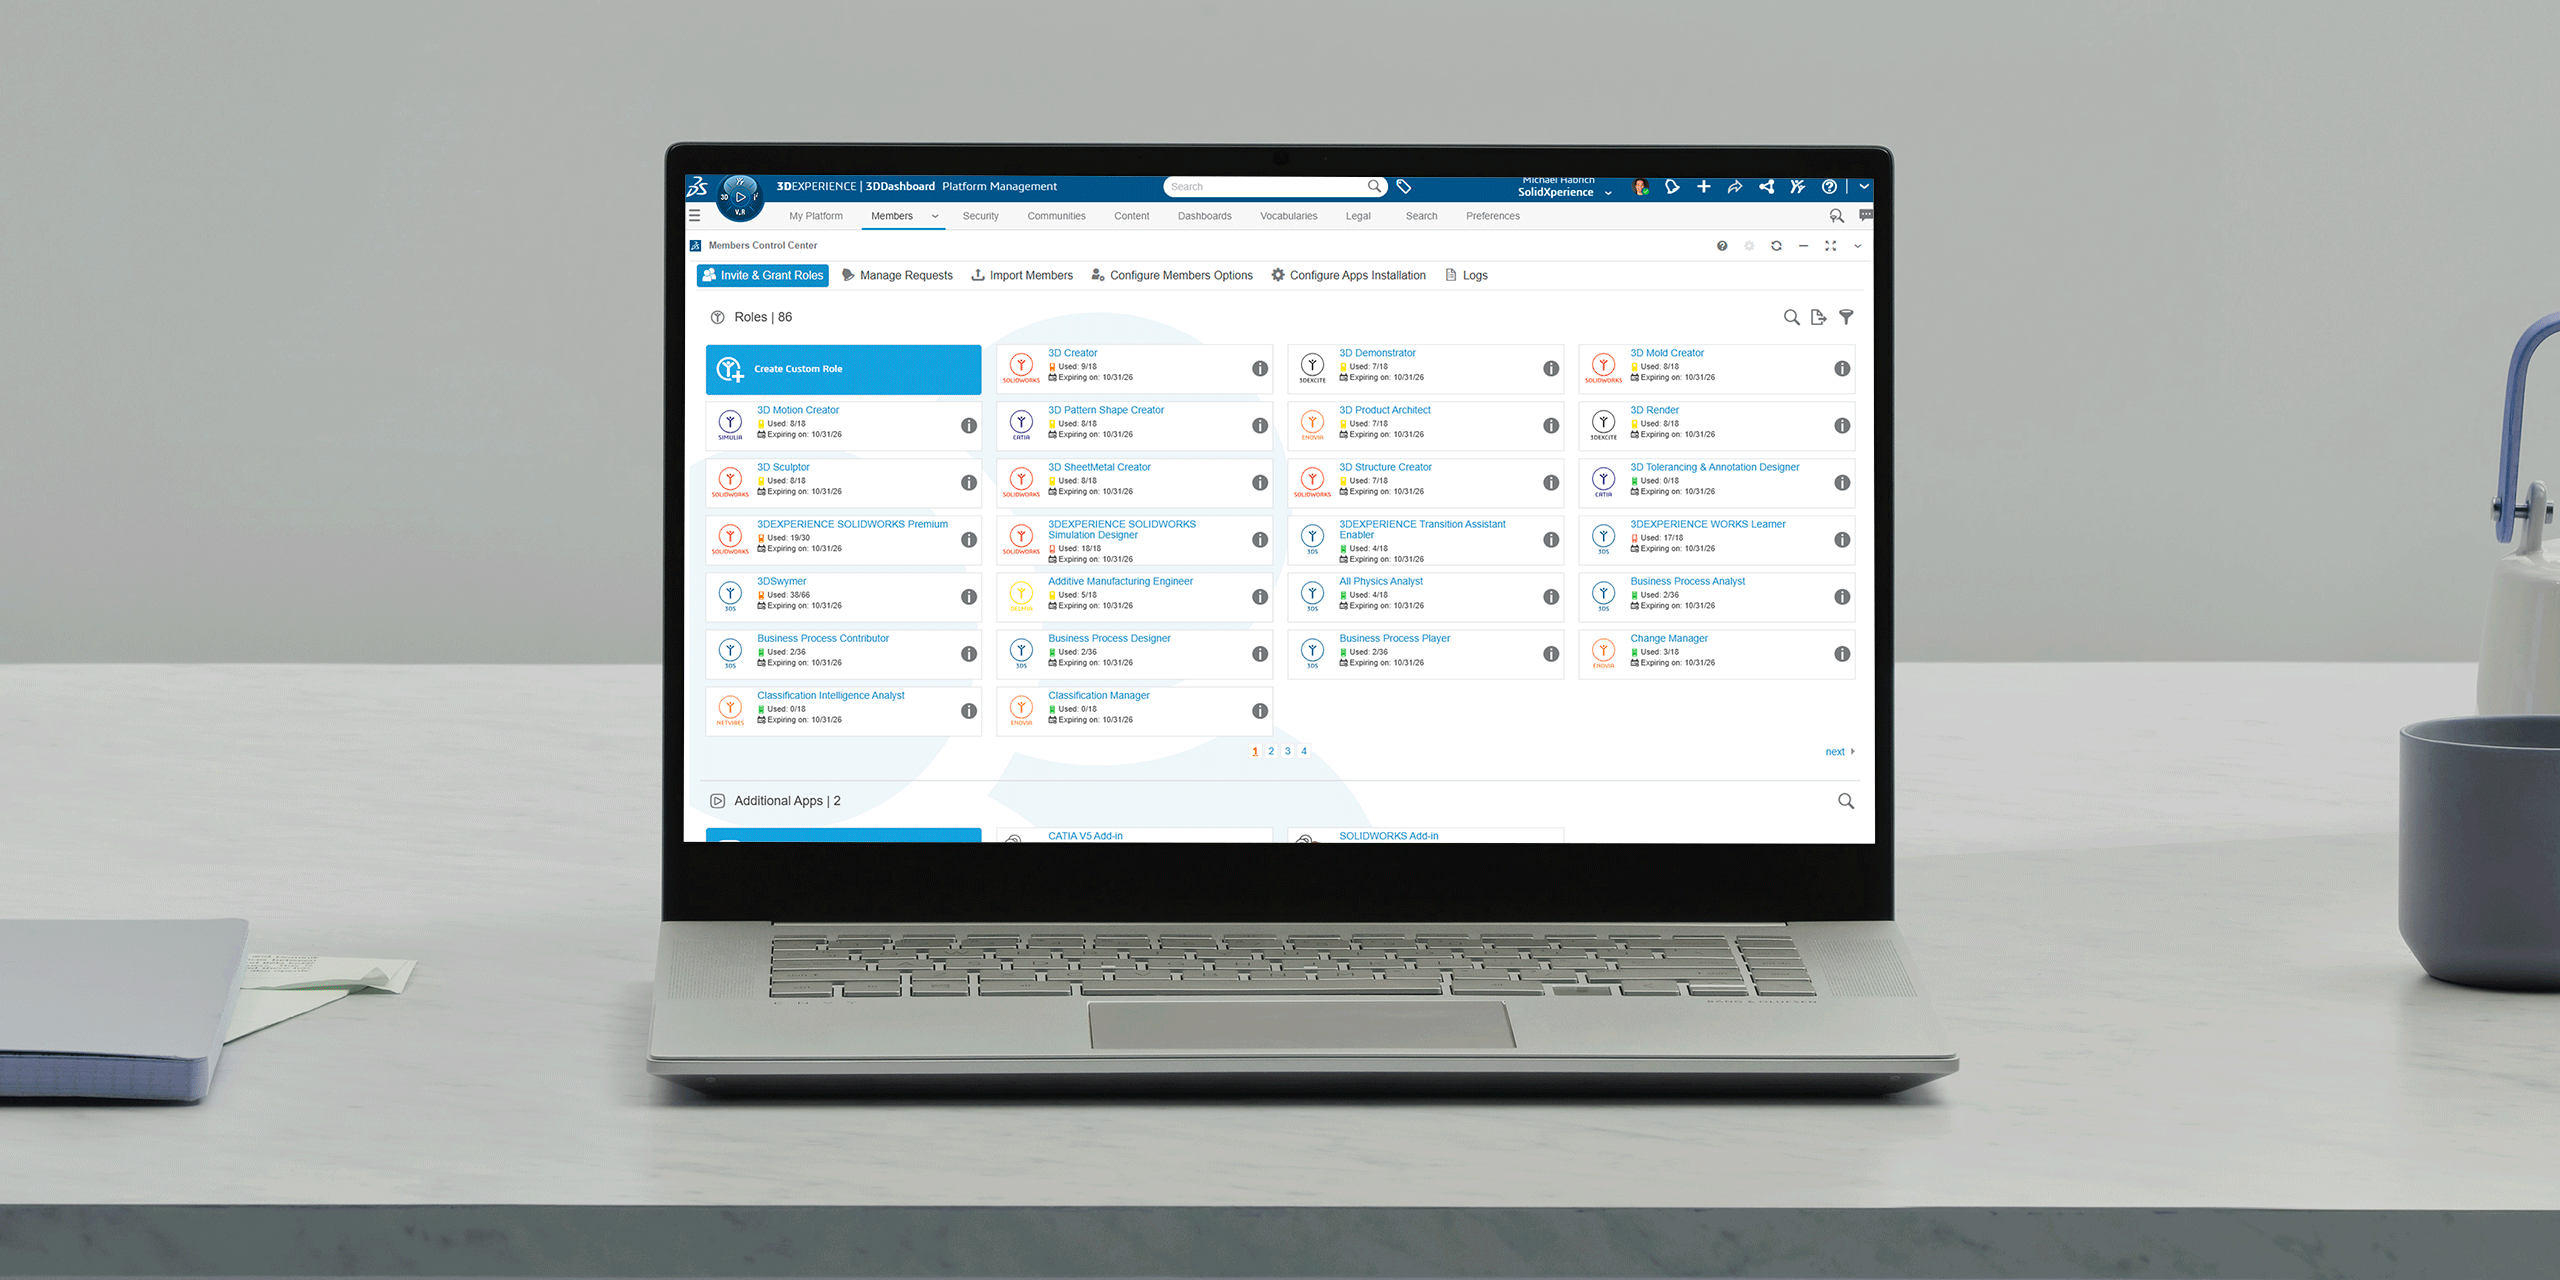
What Is SOLIDWORKS Design?
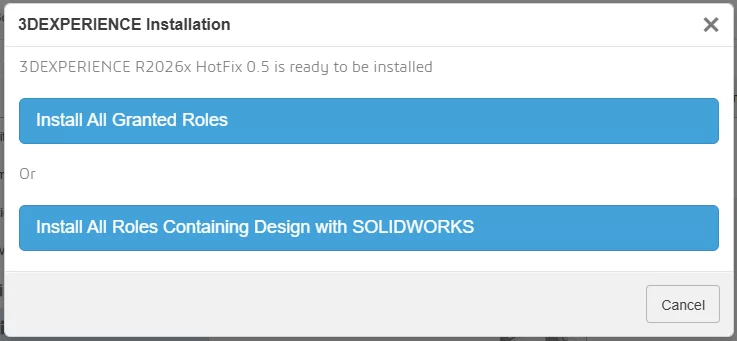
SOLIDWORKS Design is the latest evolution of the SOLIDWORKS portfolio.
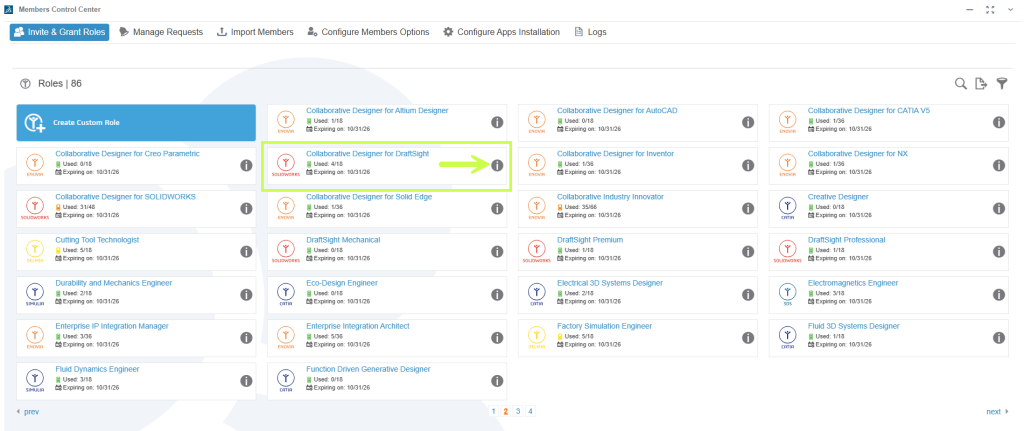
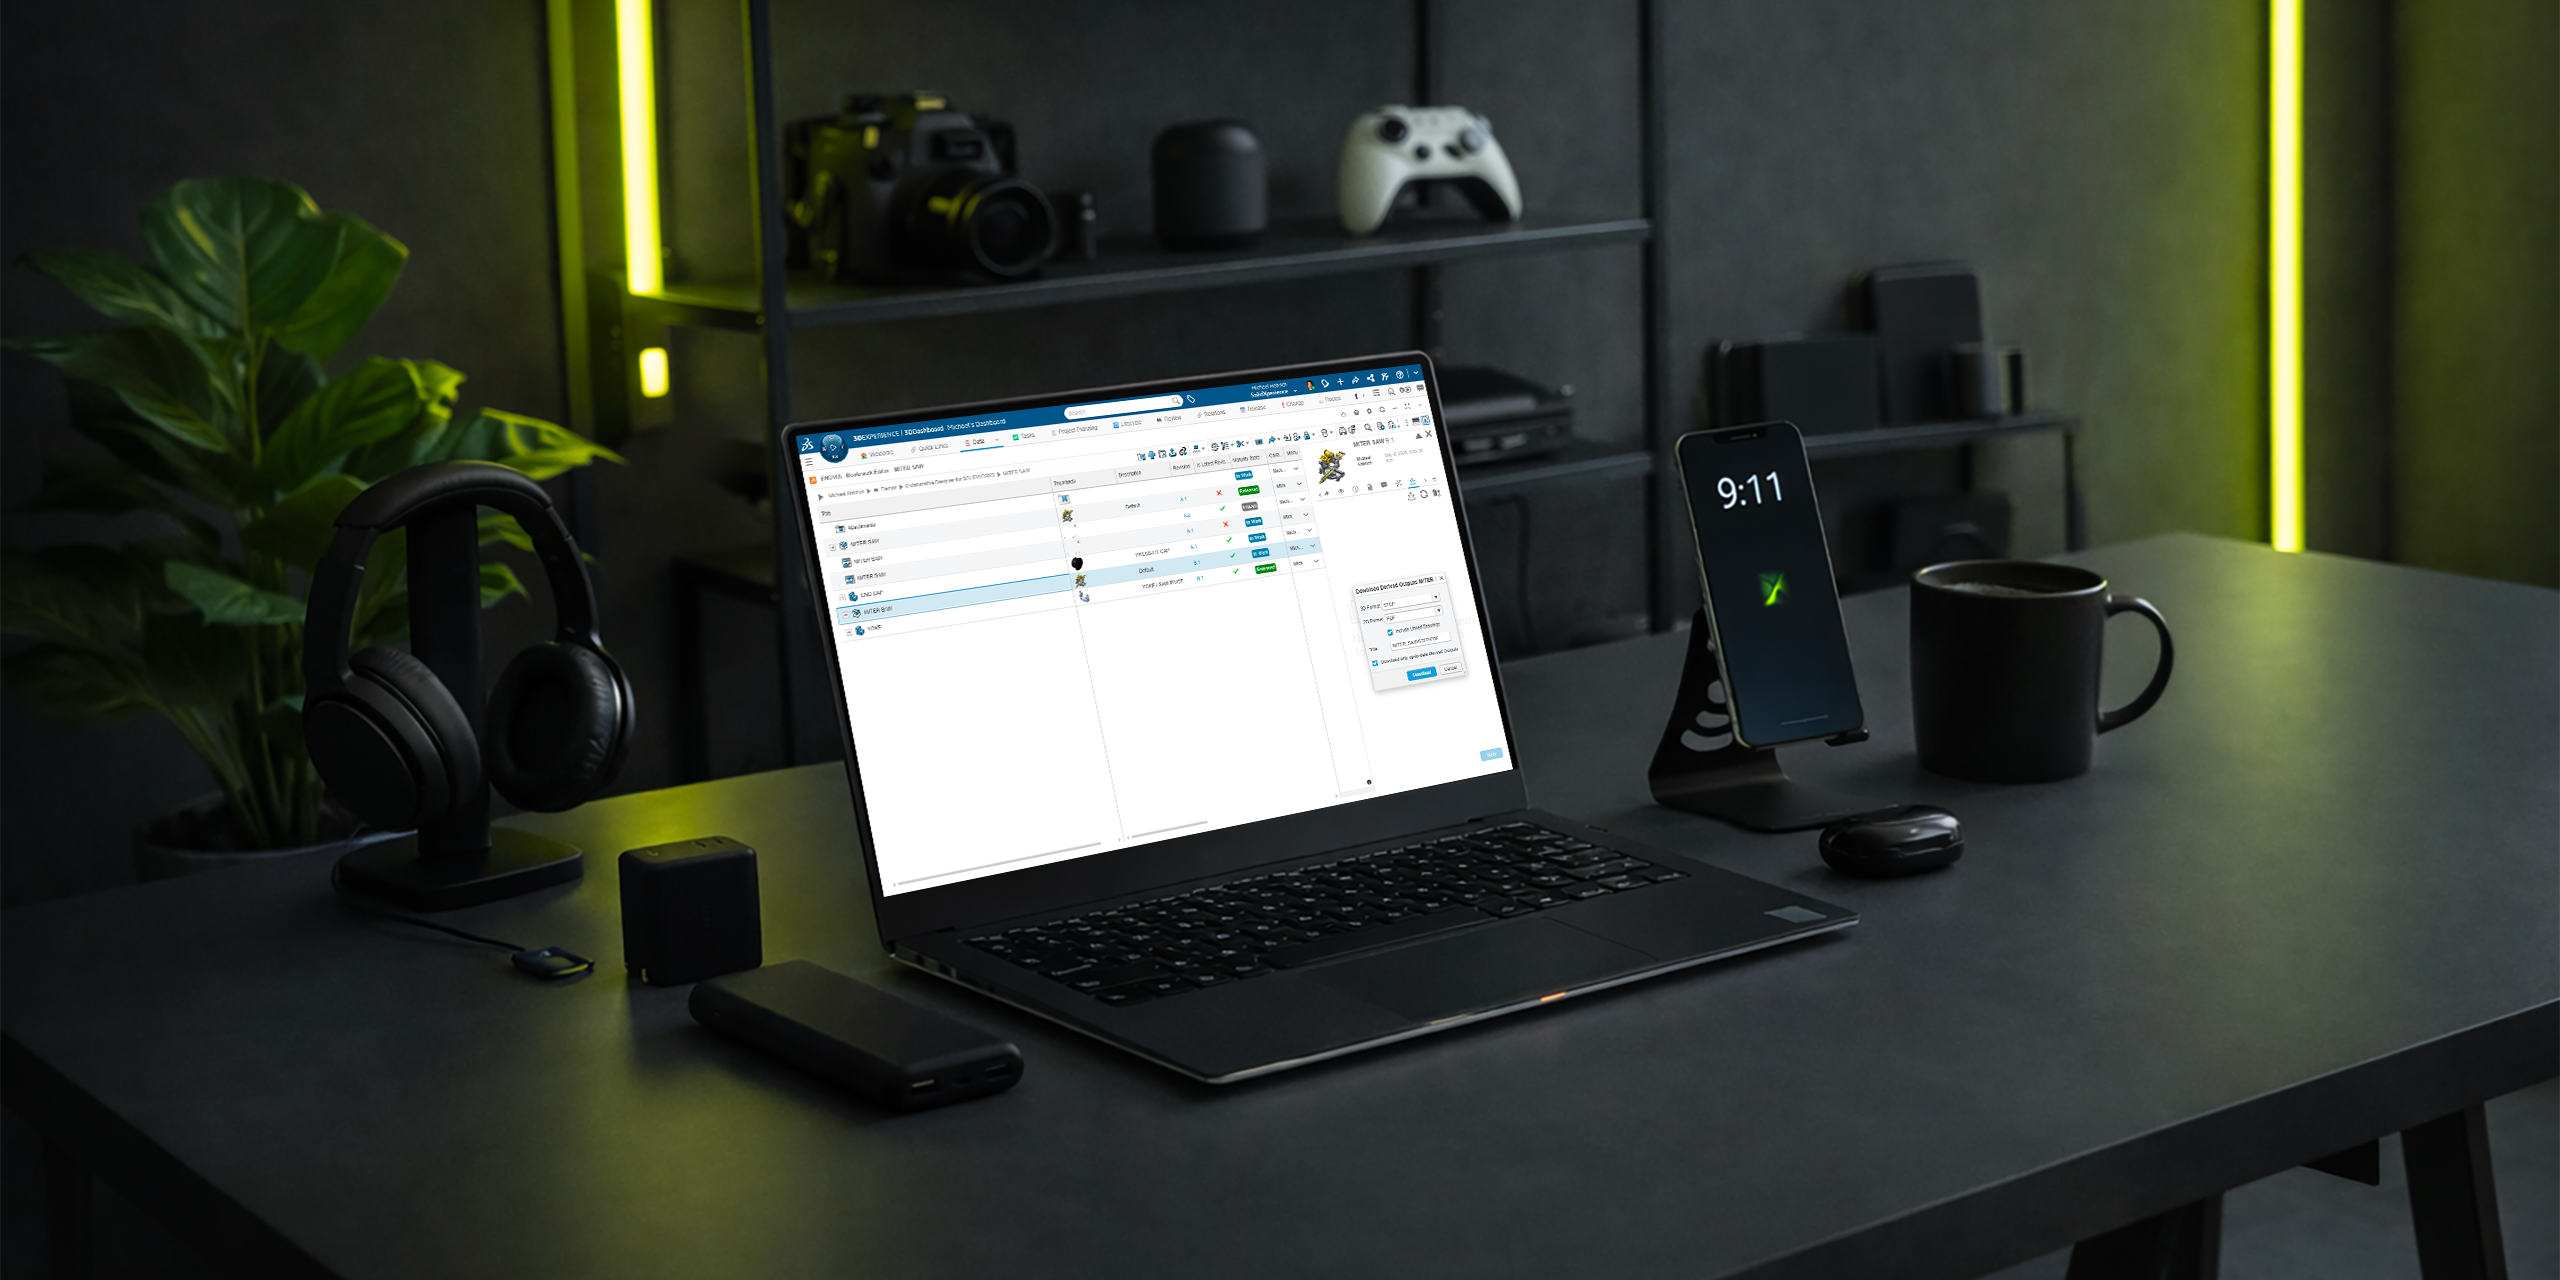
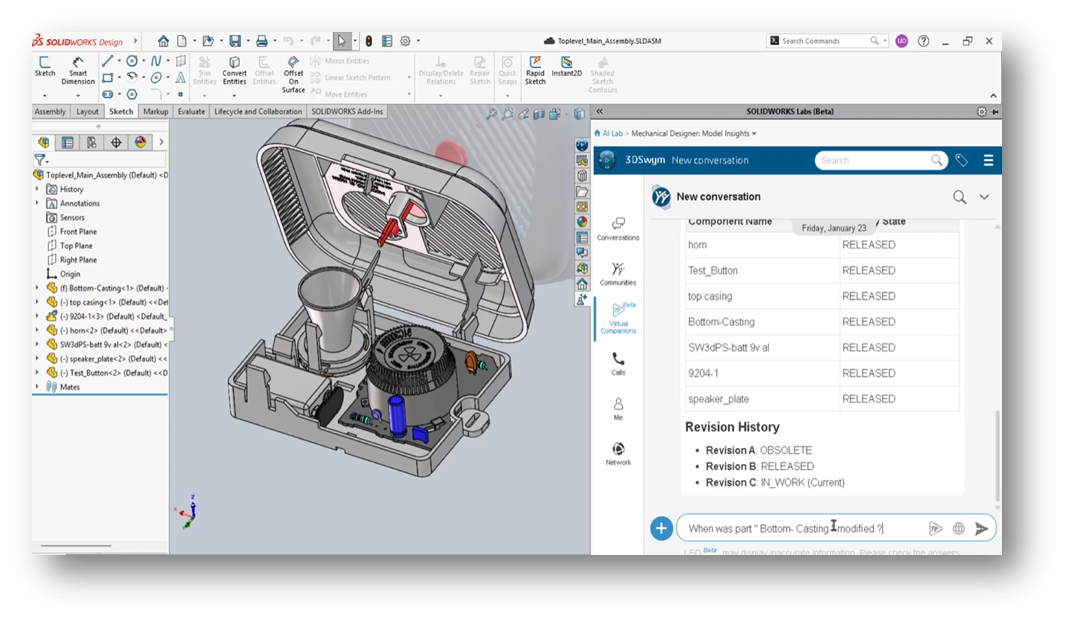
It combines the CAD environment engineers have trusted for decades with modern cloud services, collaboration tools, revision management, and AI-powered capabilities through the 3DEXPERIENCE platform.
Today, organizations can choose between multiple deployment approaches:
SOLIDWORKS Design Single-User License
A named-user license connected directly to cloud services and the 3DEXPERIENCE platform.
Benefits include:
-
Access from multiple devices
-
Built-in cloud collaboration
-
Cloud file and revision management
-
Continuous updates
-
AI-enabled cloud services and tools
SOLIDWORKS Design Device License
A machine-based license designed for organizations that prefer traditional deployment methods.
Benefits include:
-
Local installation control
-
Machine-based activation
-
Multi-user workstation environments
-
Optional cloud connectivity
-
Support for controlled IT deployment strategies
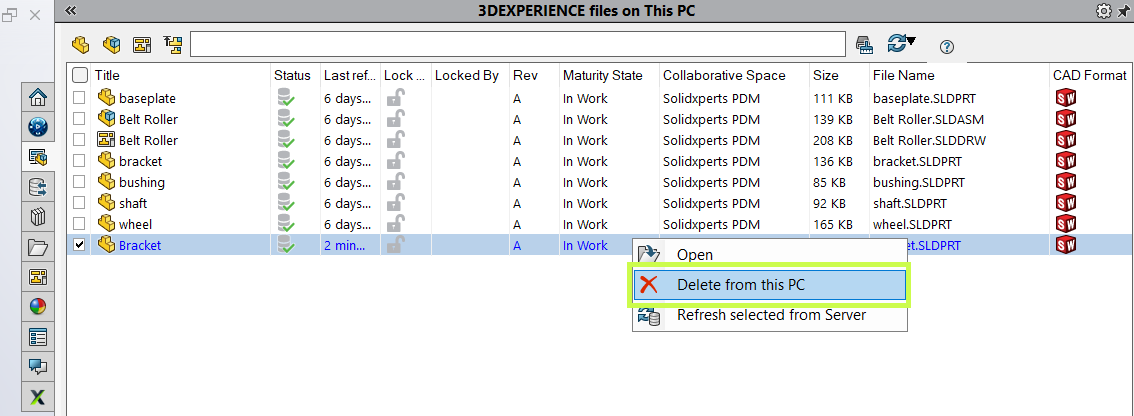
Both licensing options provide access to Cloud Services and future expansion into the broader 3DEXPERIENCE ecosystem.
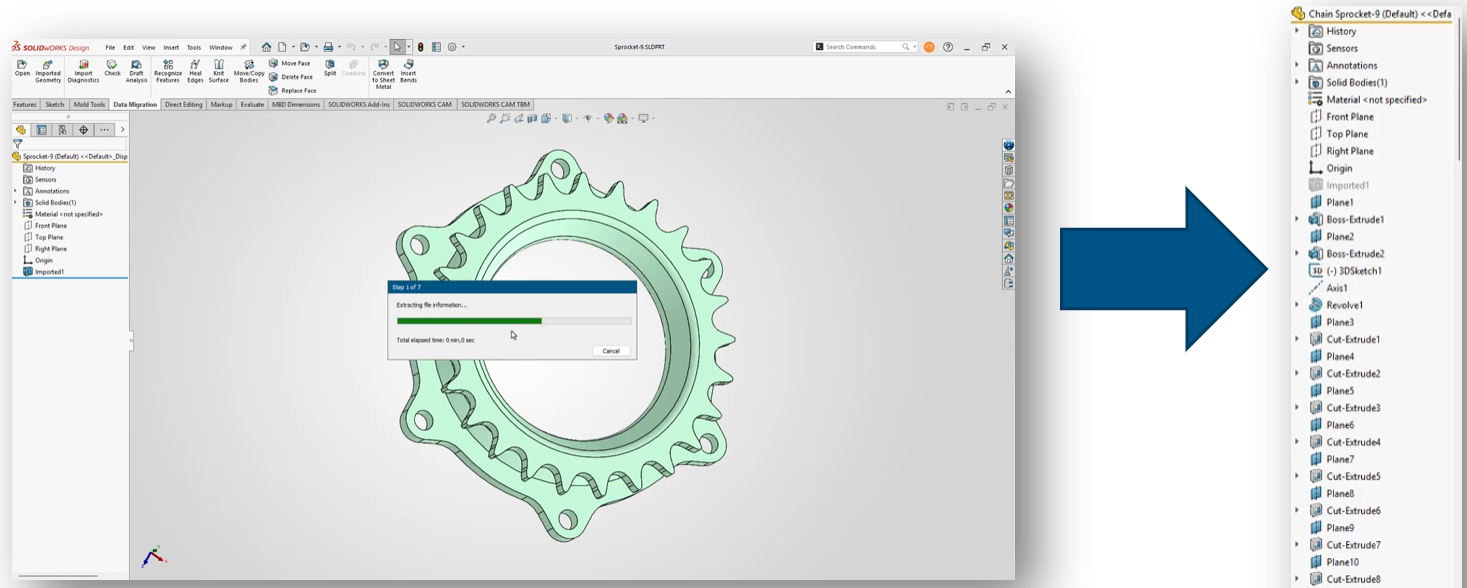
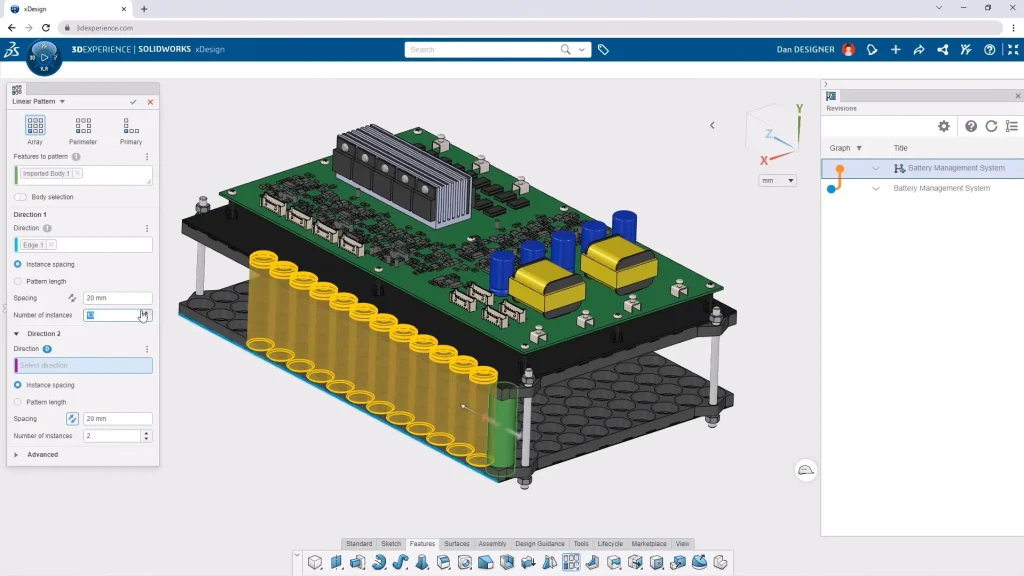
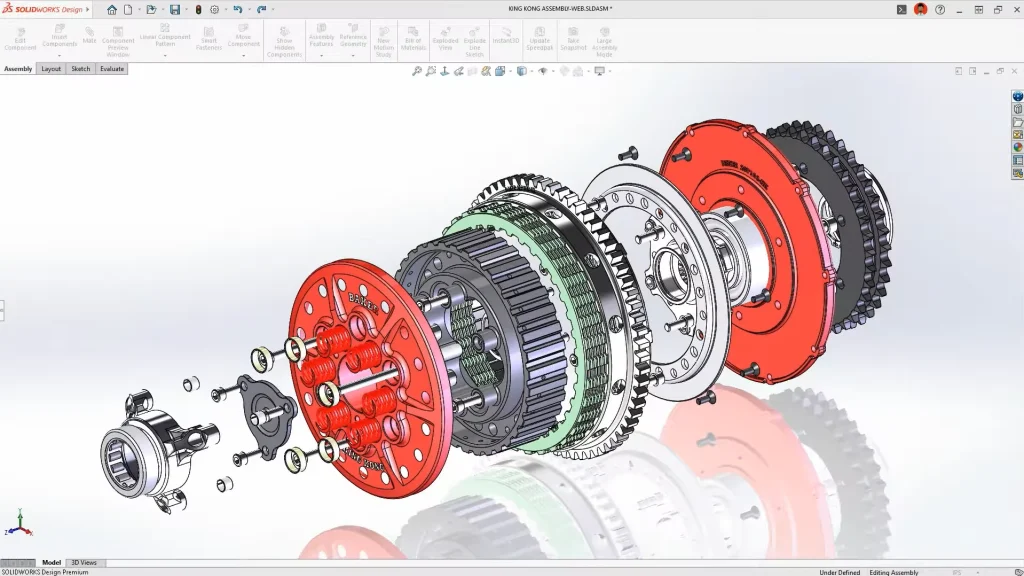 SOLIDWORKS CAD Modeling Environment
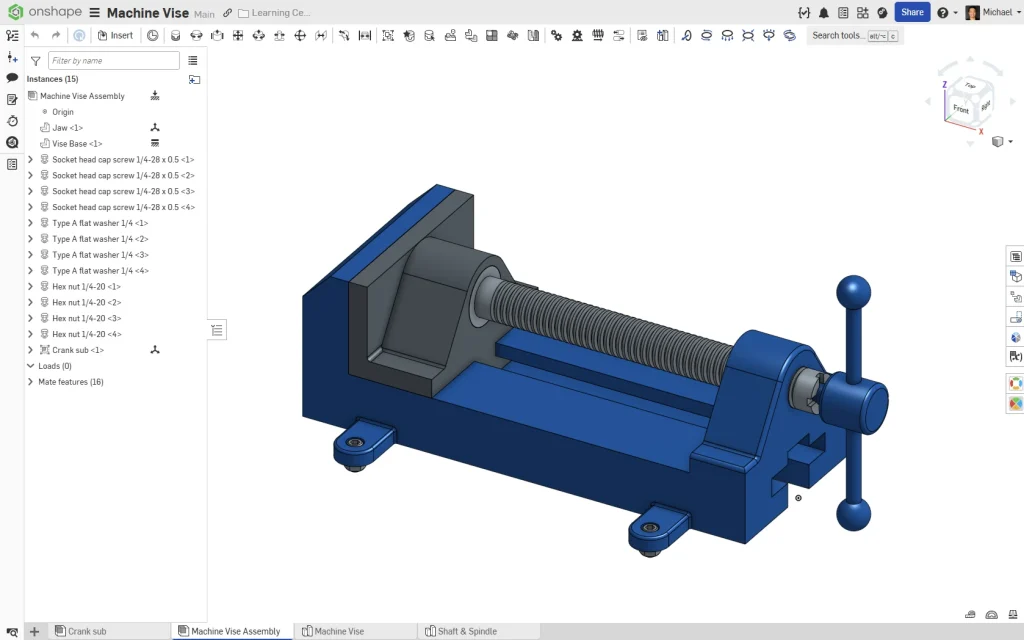
What Is Onshape?
Onshape is a fully browser based CAD platform.
Unlike traditional desktop CAD, there is no local installation. Users access their CAD environment through a web browser, and all data is stored in the cloud.
Because the platform is cloud-native, Onshape provides:
-
Real time collaboration
-
Built-in version history
-
Browser based access
-
Automatic updates
-
Simplified IT deployment
This makes it attractive for distributed teams, startups, educational institutions, and organizations looking to avoid workstation management.
SOLIDWORKS Design vs Onshape: The Biggest Differences
Modeling Experience
Both platforms use modern parametric modeling workflows.
However, SOLIDWORKS Design still offers a more mature and feature rich modeling environment for many engineering use cases.
Areas where SOLIDWORKS continues to excel include:
-
Large assemblies
-
Weldments
-
Routing
-
Drawings and detailing
-
Manufacturing documentation
-
Simulation integration
-
CAM integration
-
Advanced surfacing workflows
For many engineers, SOLIDWORKS remains the benchmark for production ready mechanical design.
Onshape delivers a modern modeling experience and continues to evolve rapidly, but some organizations transitioning from mature desktop CAD environments may find certain advanced workflows less developed.
Performance
This is where deployment philosophy matters.
SOLIDWORKS Design
Most CAD calculations happen locally on workstation hardware.
Advantages:
-
Excellent performance on complex assemblies
-
Direct access to GPU resources
-
Better support for demanding engineering workloads
-
Less dependence on internet speed during modeling
Onshape
All modeling calculations occur on cloud infrastructure.
Advantages:
-
Lower workstation requirements
-
Easy access from almost any device
-
Consistent performance across users
For engineering teams working on large products, machinery, manufacturing equipment, or highly detailed assemblies, local workstation performance still offers significant advantages.
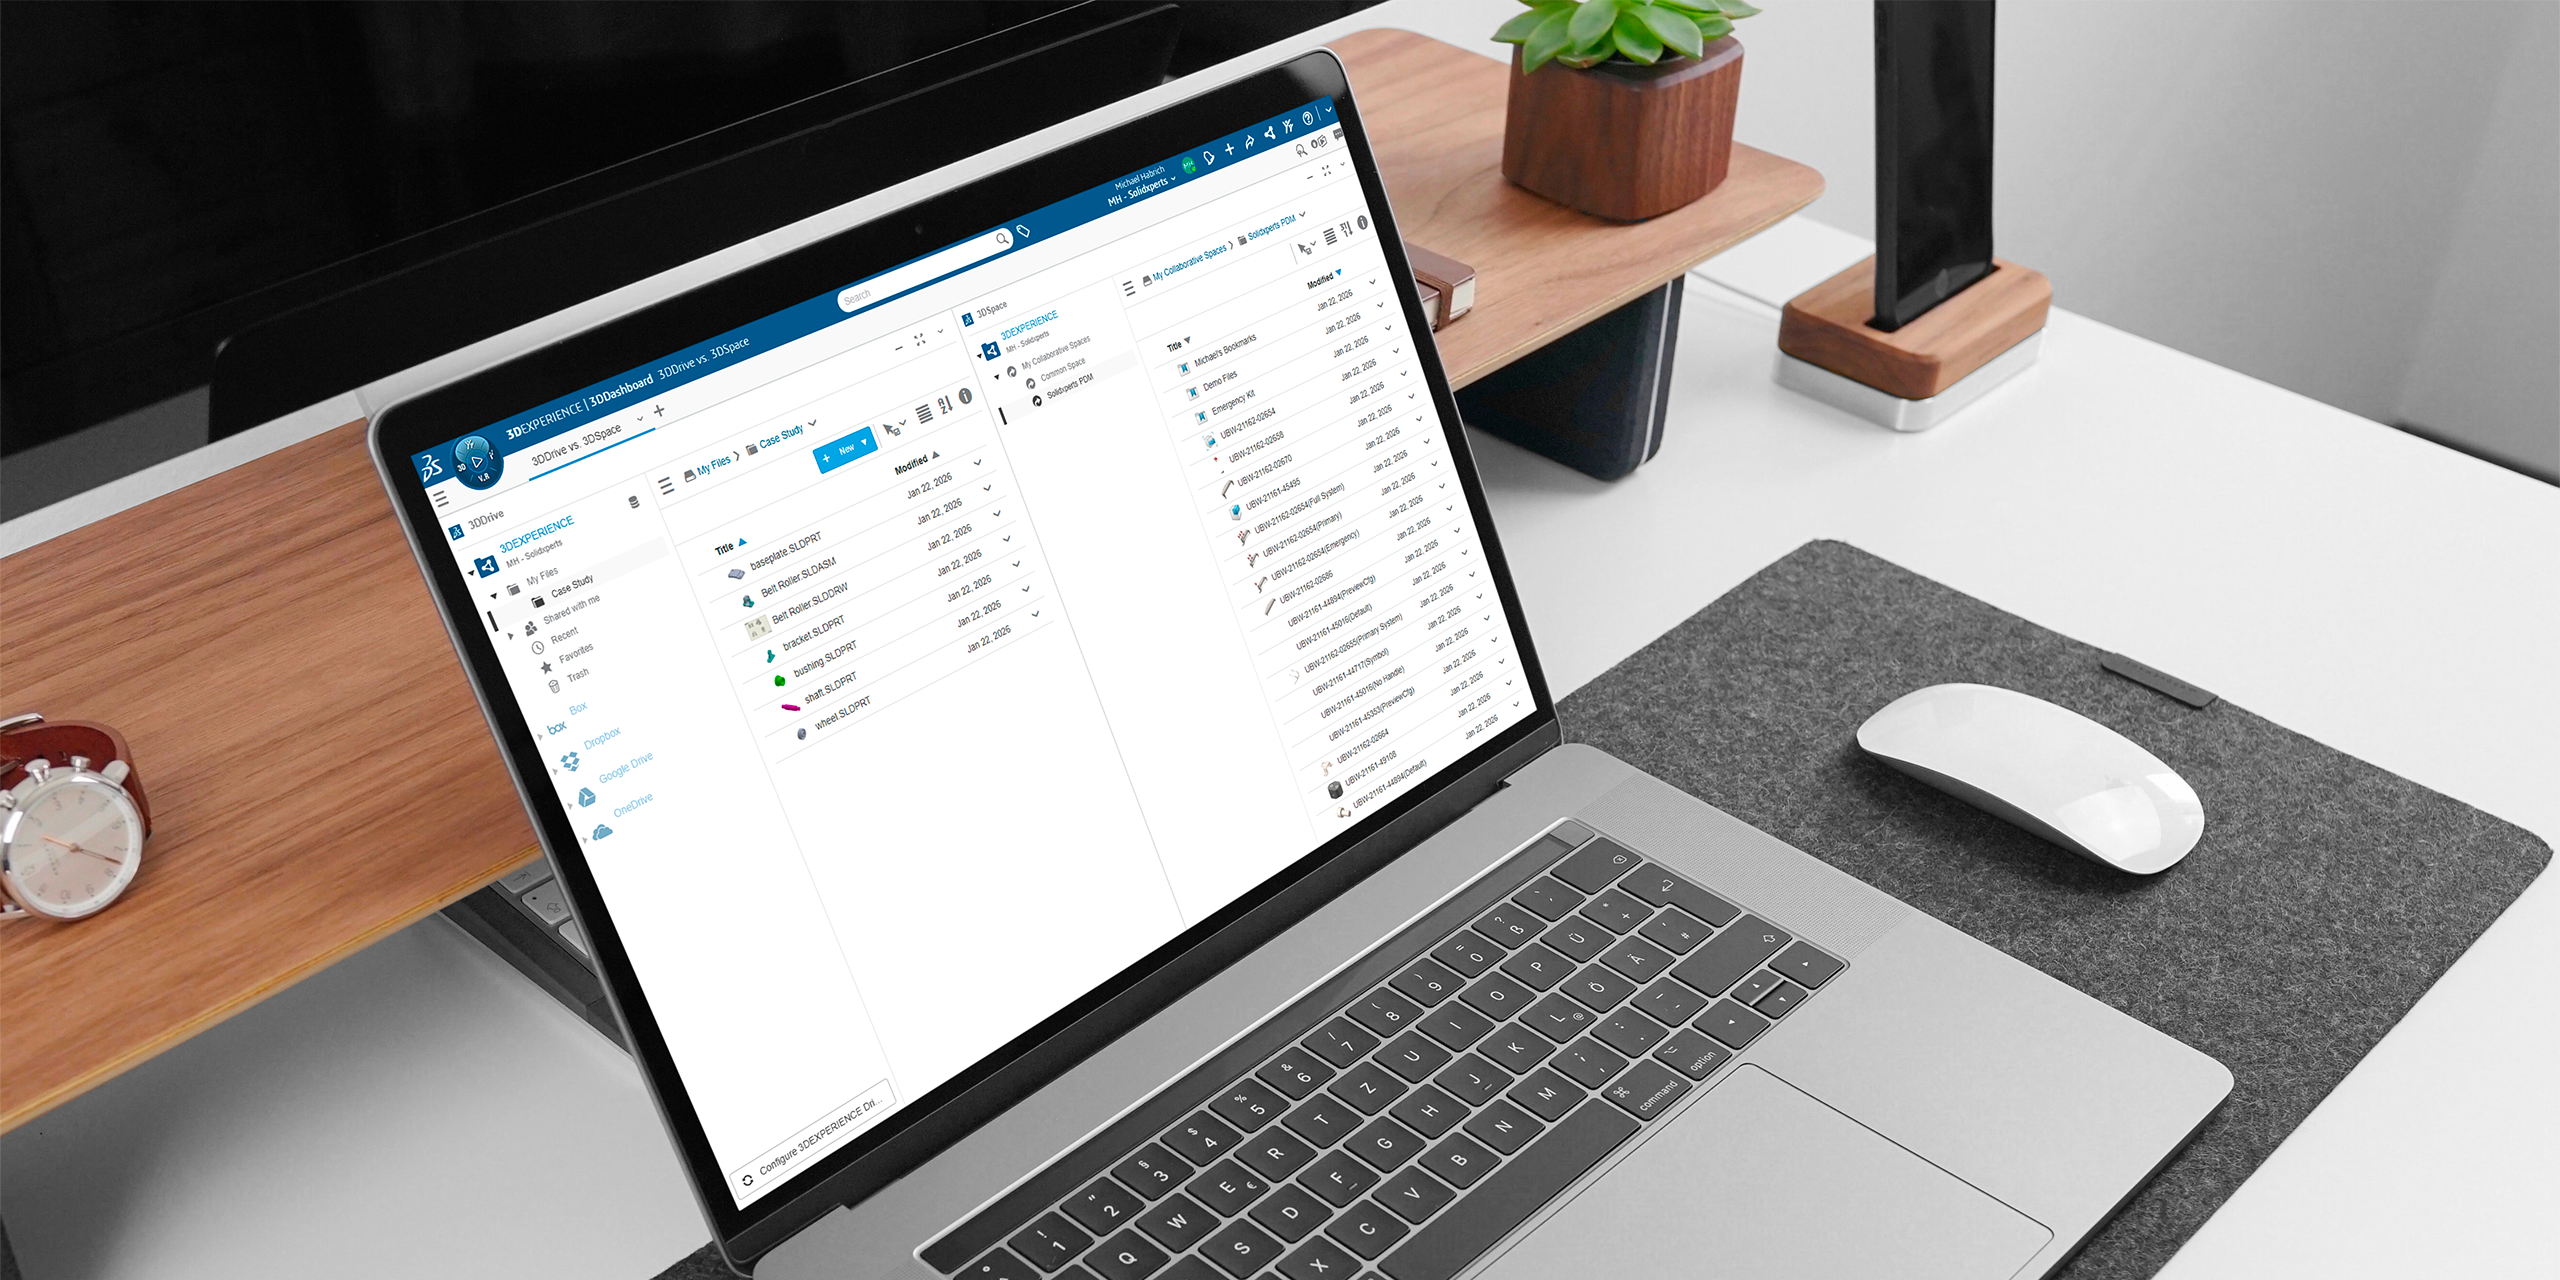
Data Management
Historically, data management was a major differentiator.
Today, the gap is much smaller.
Onshape
Includes cloud-based data management by default.
Users benefit from:
-
Version history
-
Branching workflows
-
Built-in collaboration
-
Cloud storage
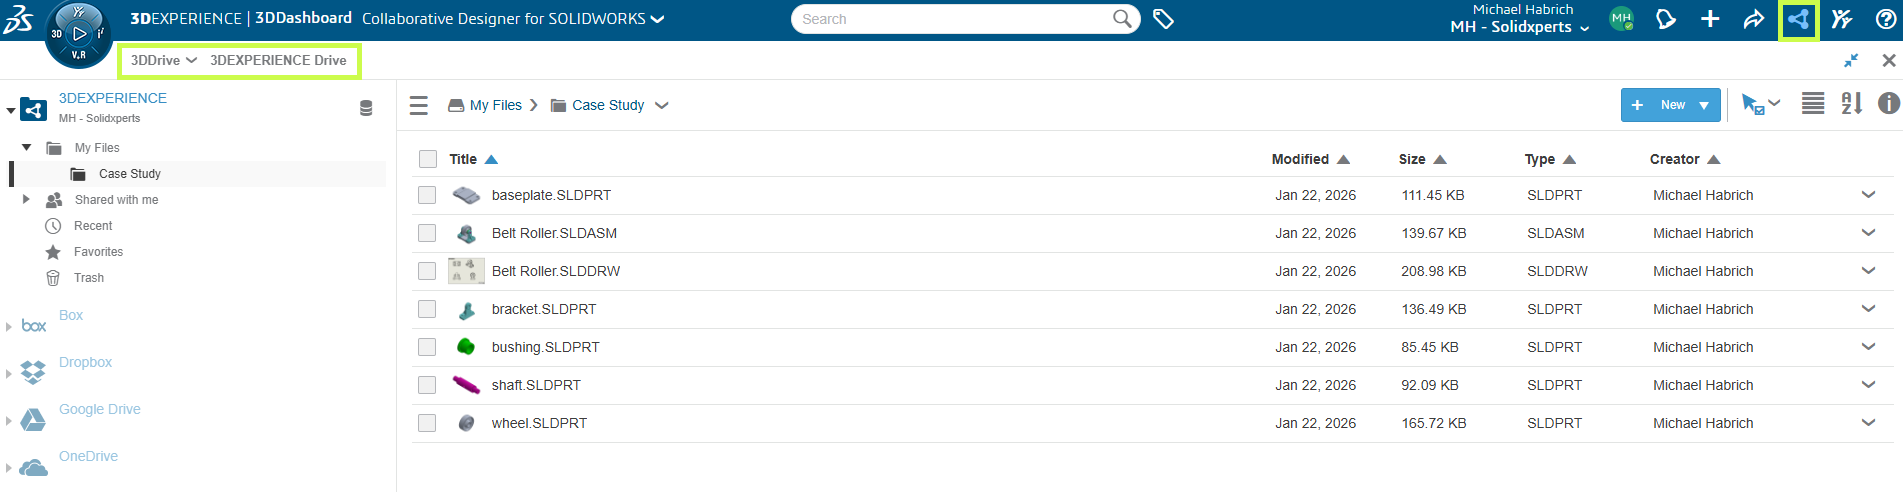
SOLIDWORKS Design
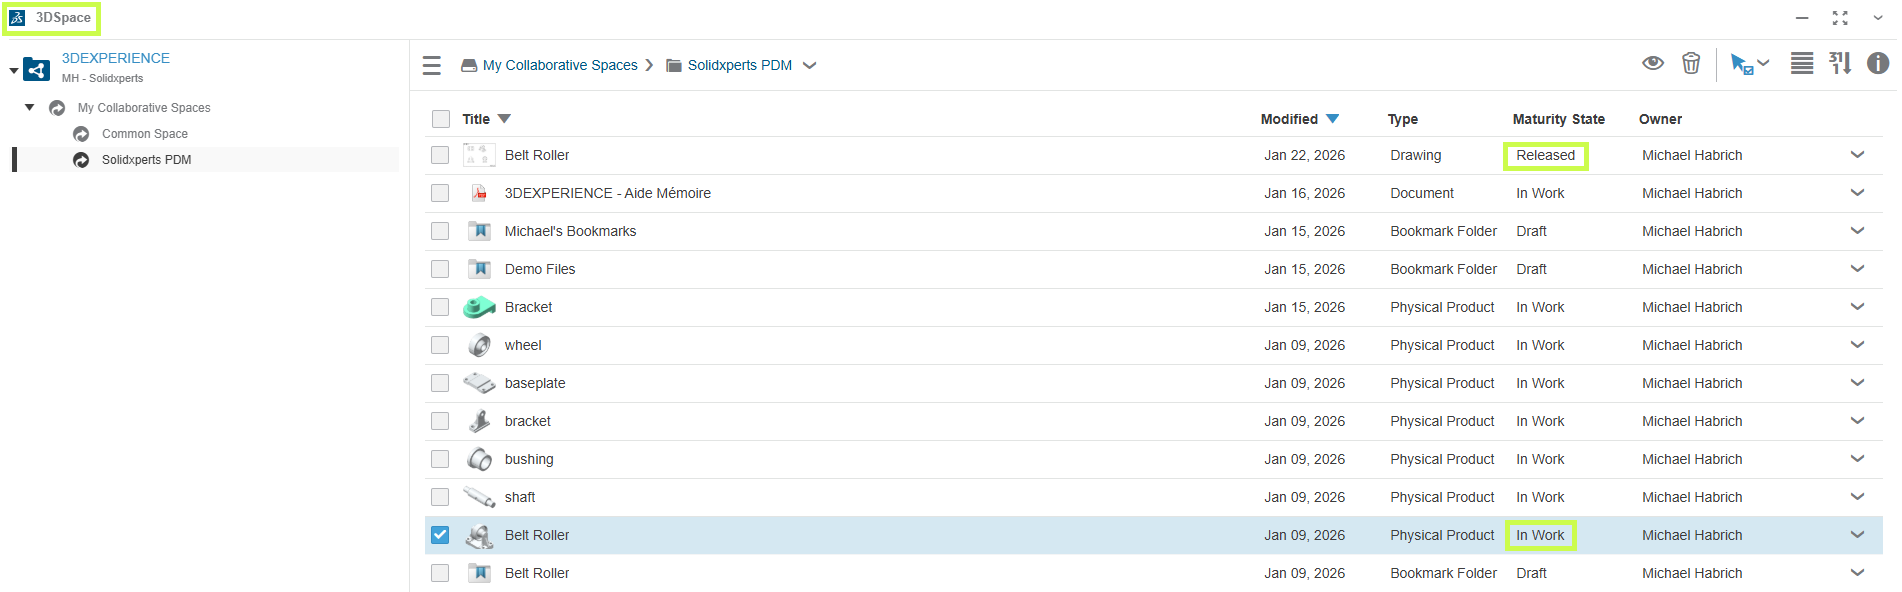
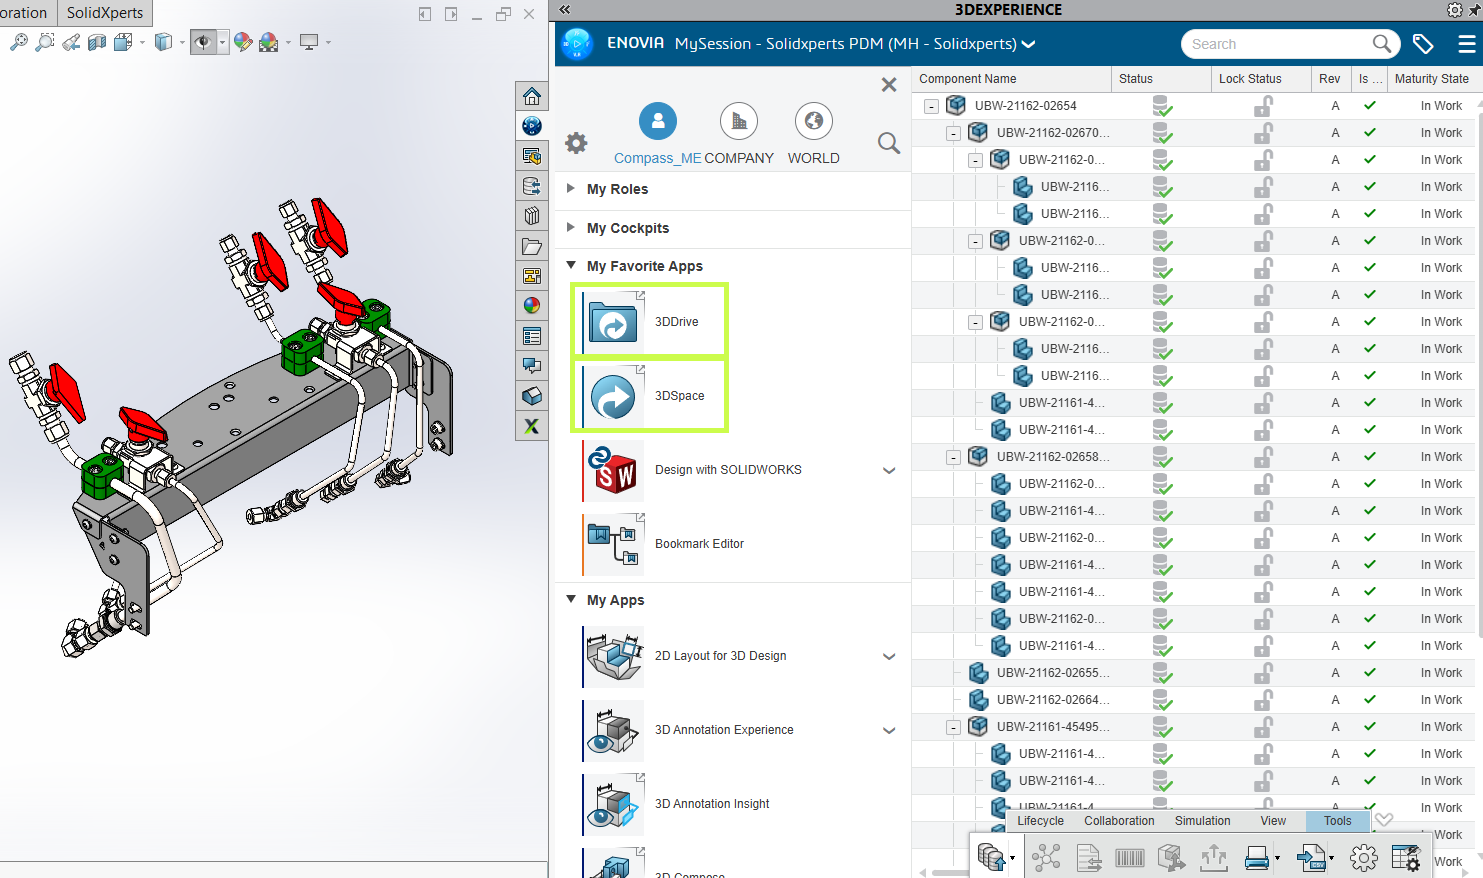
Includes Cloud Services and can scale directly into the 3DEXPERIENCE platform.
Organizations can start with:
-
Share and Markup
-
Store and Revise
-
Collaborative Spaces
-
Cloud revision management
And later expand into:
-
Product lifecycle management (PLM)
-
Change actions
-
Governance workflows
-
Enterprise collaboration
This creates a growth path from basic collaboration all the way to enterprise level product development.
What About SOLIDWORKS xDesign?
This is an important distinction that often gets overlooked.
When comparing browser-based CAD, the most direct comparison is often SOLIDWORKS xDesign versus Onshape, not SOLIDWORKS Design versus Onshape.
SOLIDWORKS xDesign is Dassault Systèmes’ cloud-native design solution, running entirely in a web browser with no local installation required. It combines modeling, collaboration, lifecycle management, and cloud storage directly within the 3DEXPERIENCE platform.
For organizations that like the flexibility of browser-based CAD but want to stay within the SOLIDWORKS ecosystem, xDesign is often worth evaluating alongside Onshape.
Many companies ultimately adopt a hybrid strategy:
-
SOLIDWORKS Design for advanced mechanical design
-
SOLIDWORKS xDesign for cloud-native collaboration and conceptual work
-
3DEXPERIENCE for data management and lifecycle control
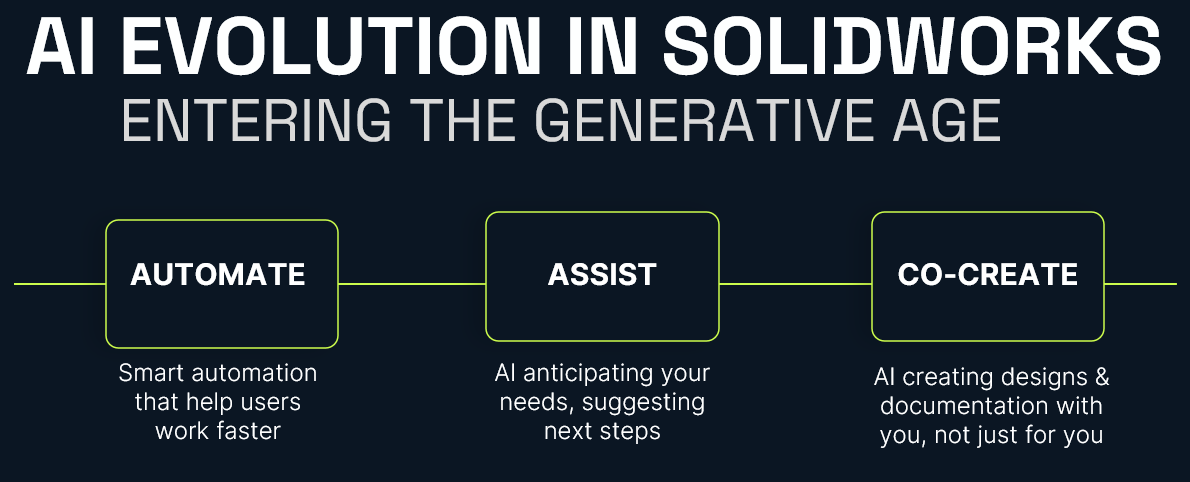
AI Features: SOLIDWORKS vs Onshape
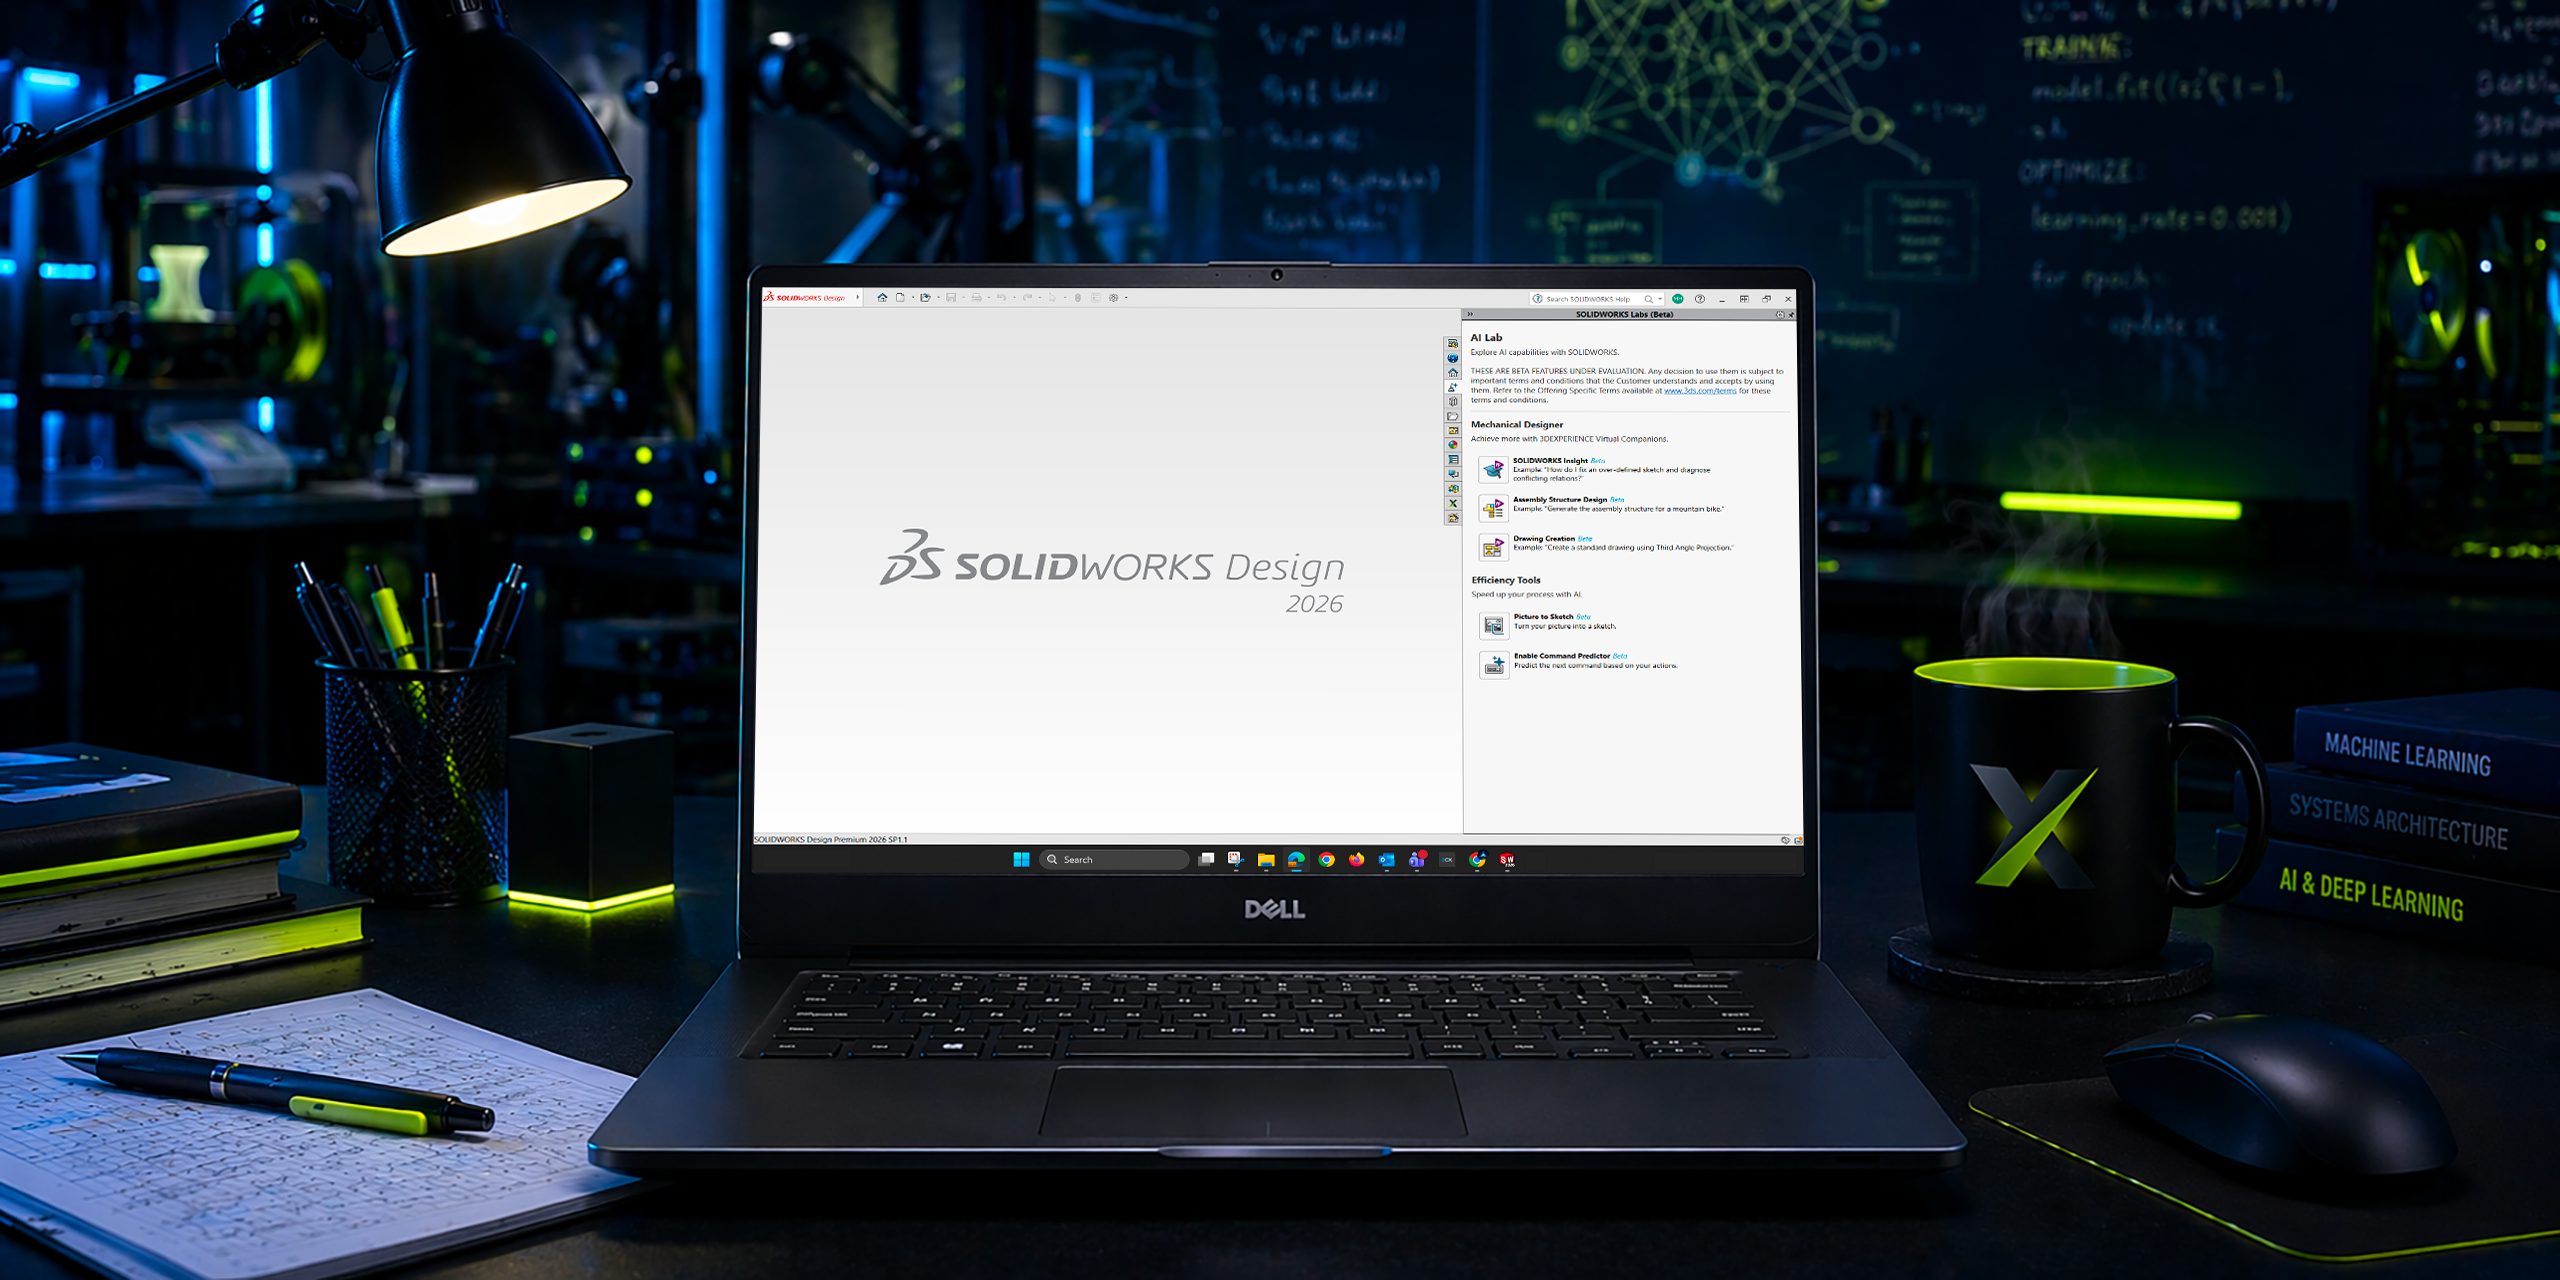
AI is becoming part of every CAD discussion, but it’s important to separate practical tools from marketing buzzwords.
Neither platform has a “design my product” button.
Instead, both focus on productivity improvements.
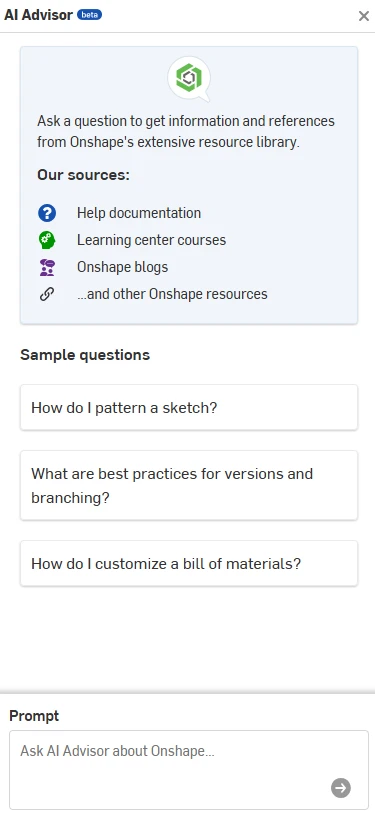
AI in Onshape
Onshape currently offers AI Advisor, an AI-powered assistant designed to answer questions and guide users through workflows using Onshape documentation and training resources as its knowledge base.
AI Advisor can:
-
Answer workflow questions
-
Recommend best practices
-
Surface documentation
-
Provide troubleshooting guidance
-
Deliver contextual assistance inside the platform
Importantly, Onshape states that AI Advisor does not currently generate designs or make engineering decisions.
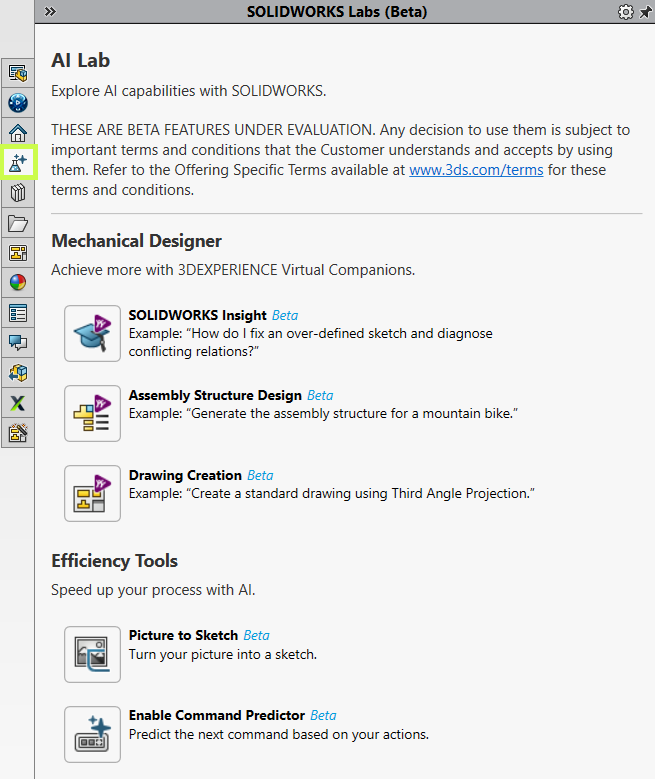
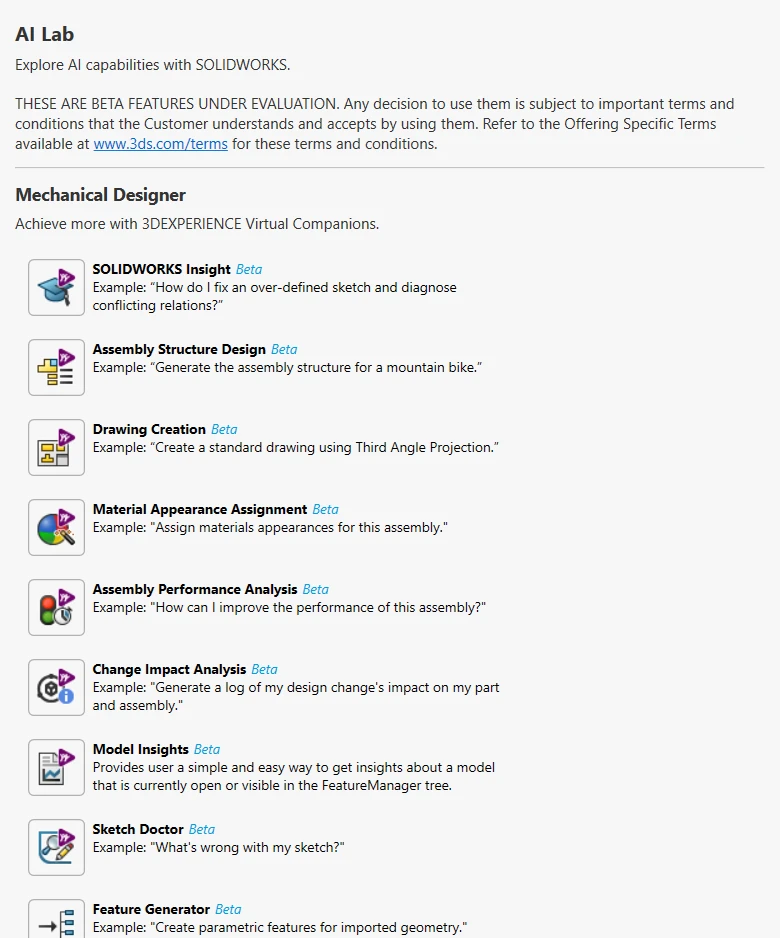
AI in SOLIDWORKS
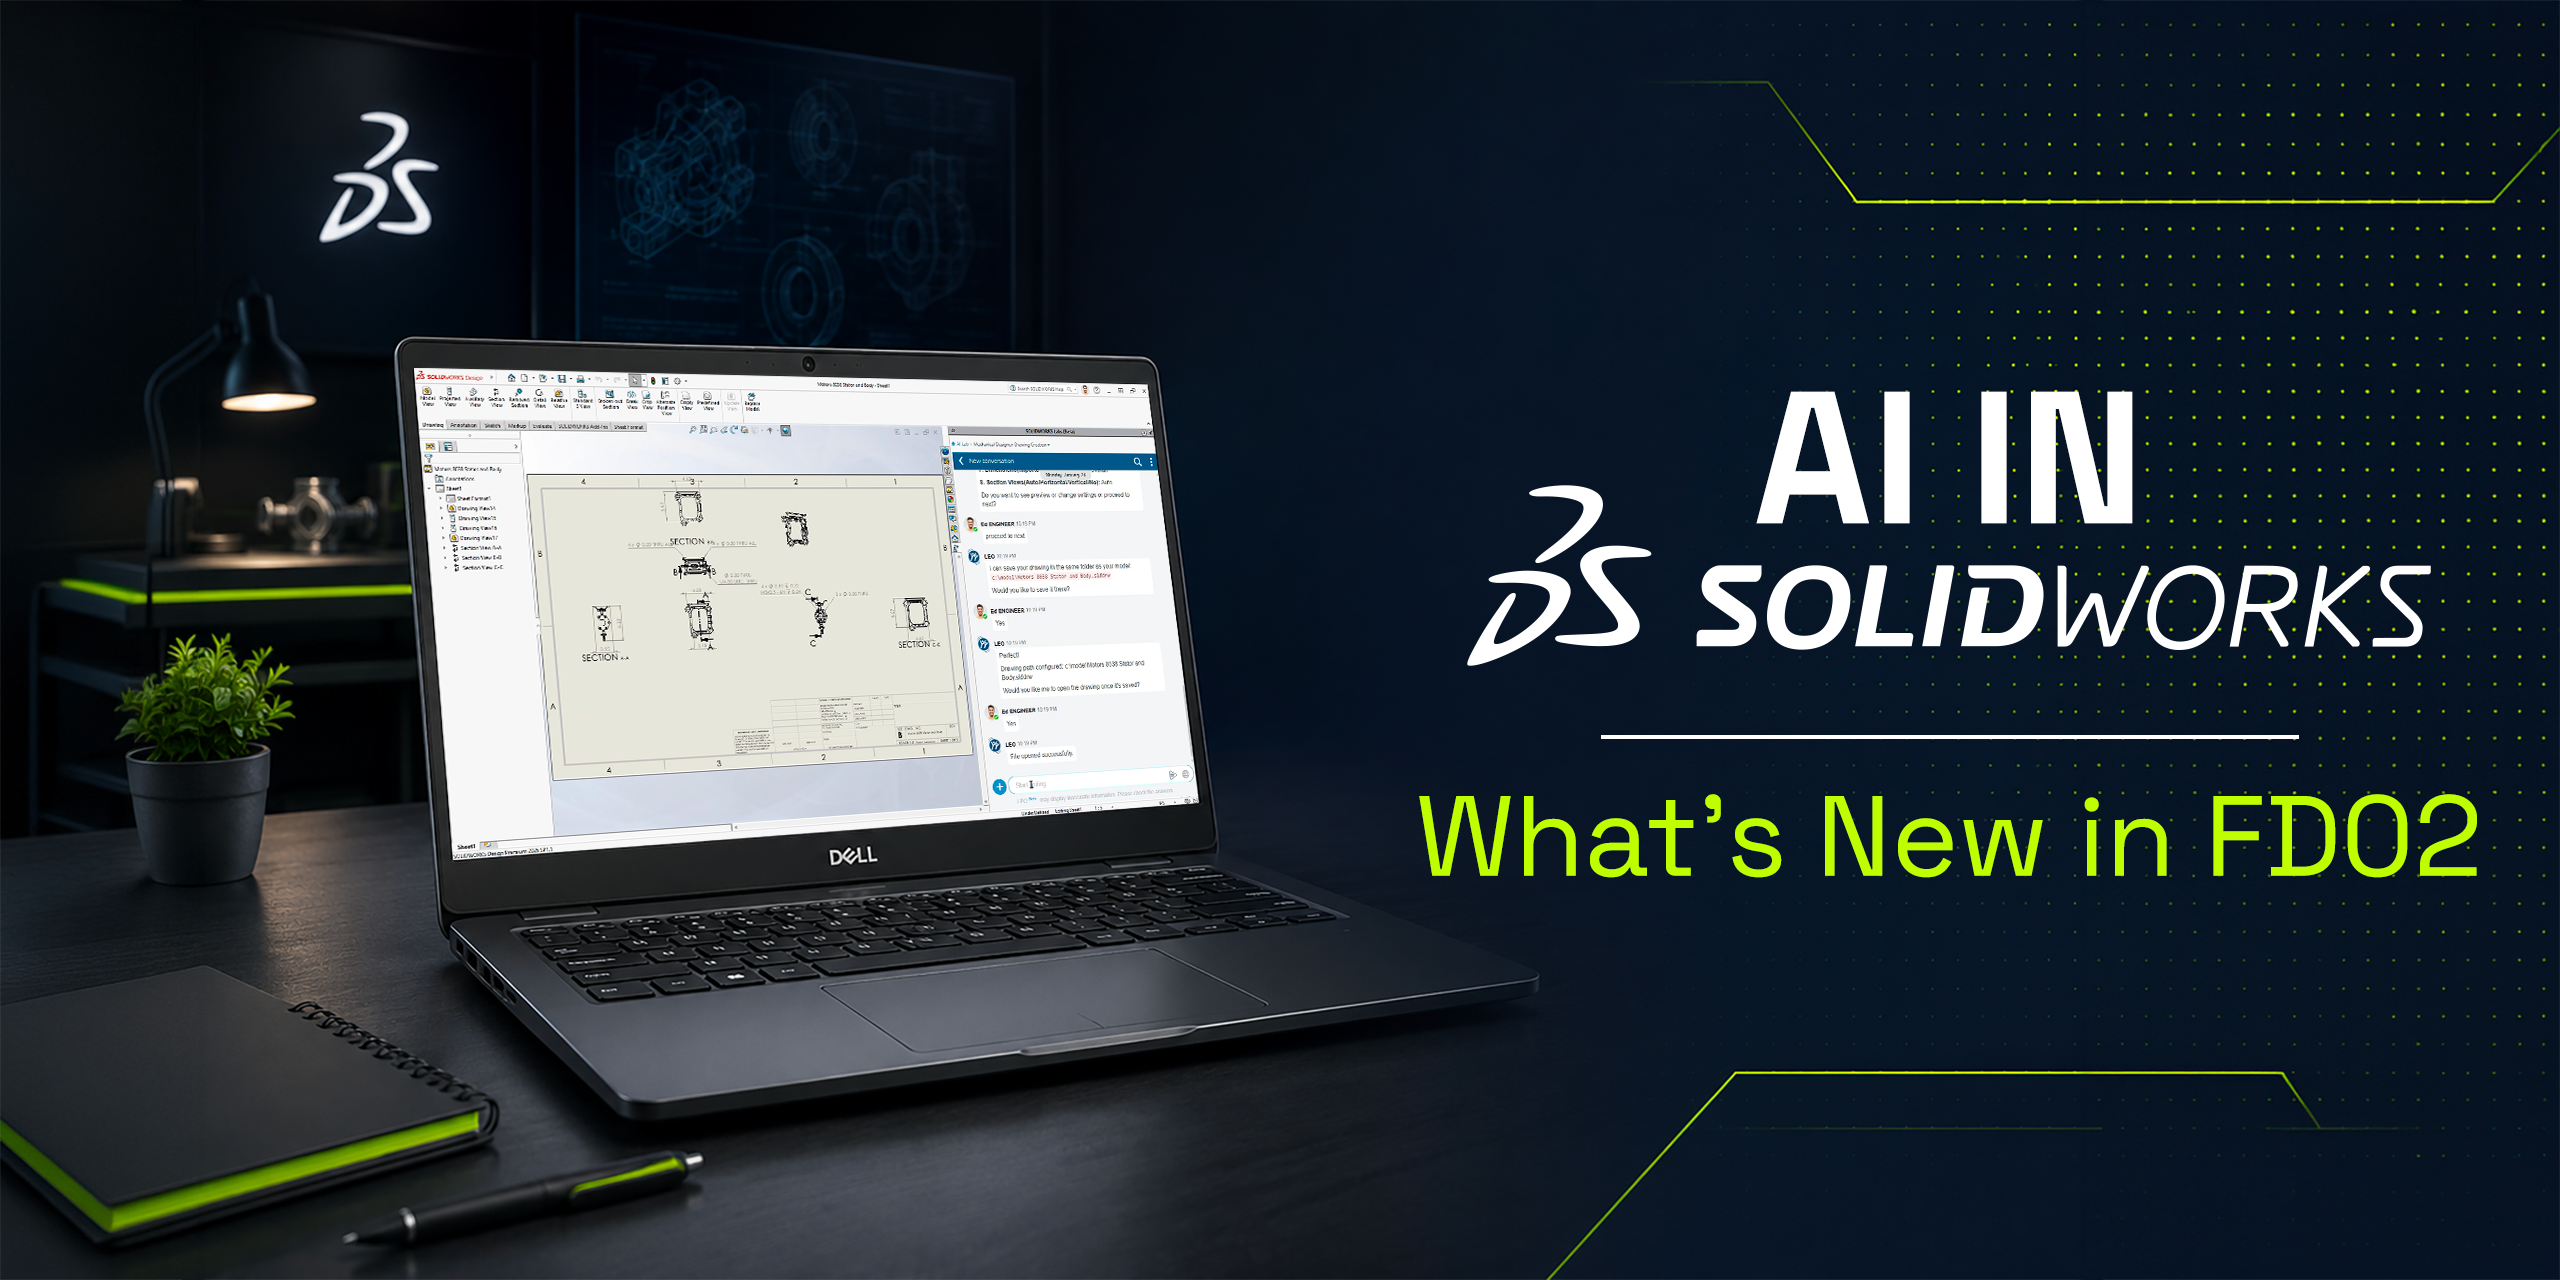
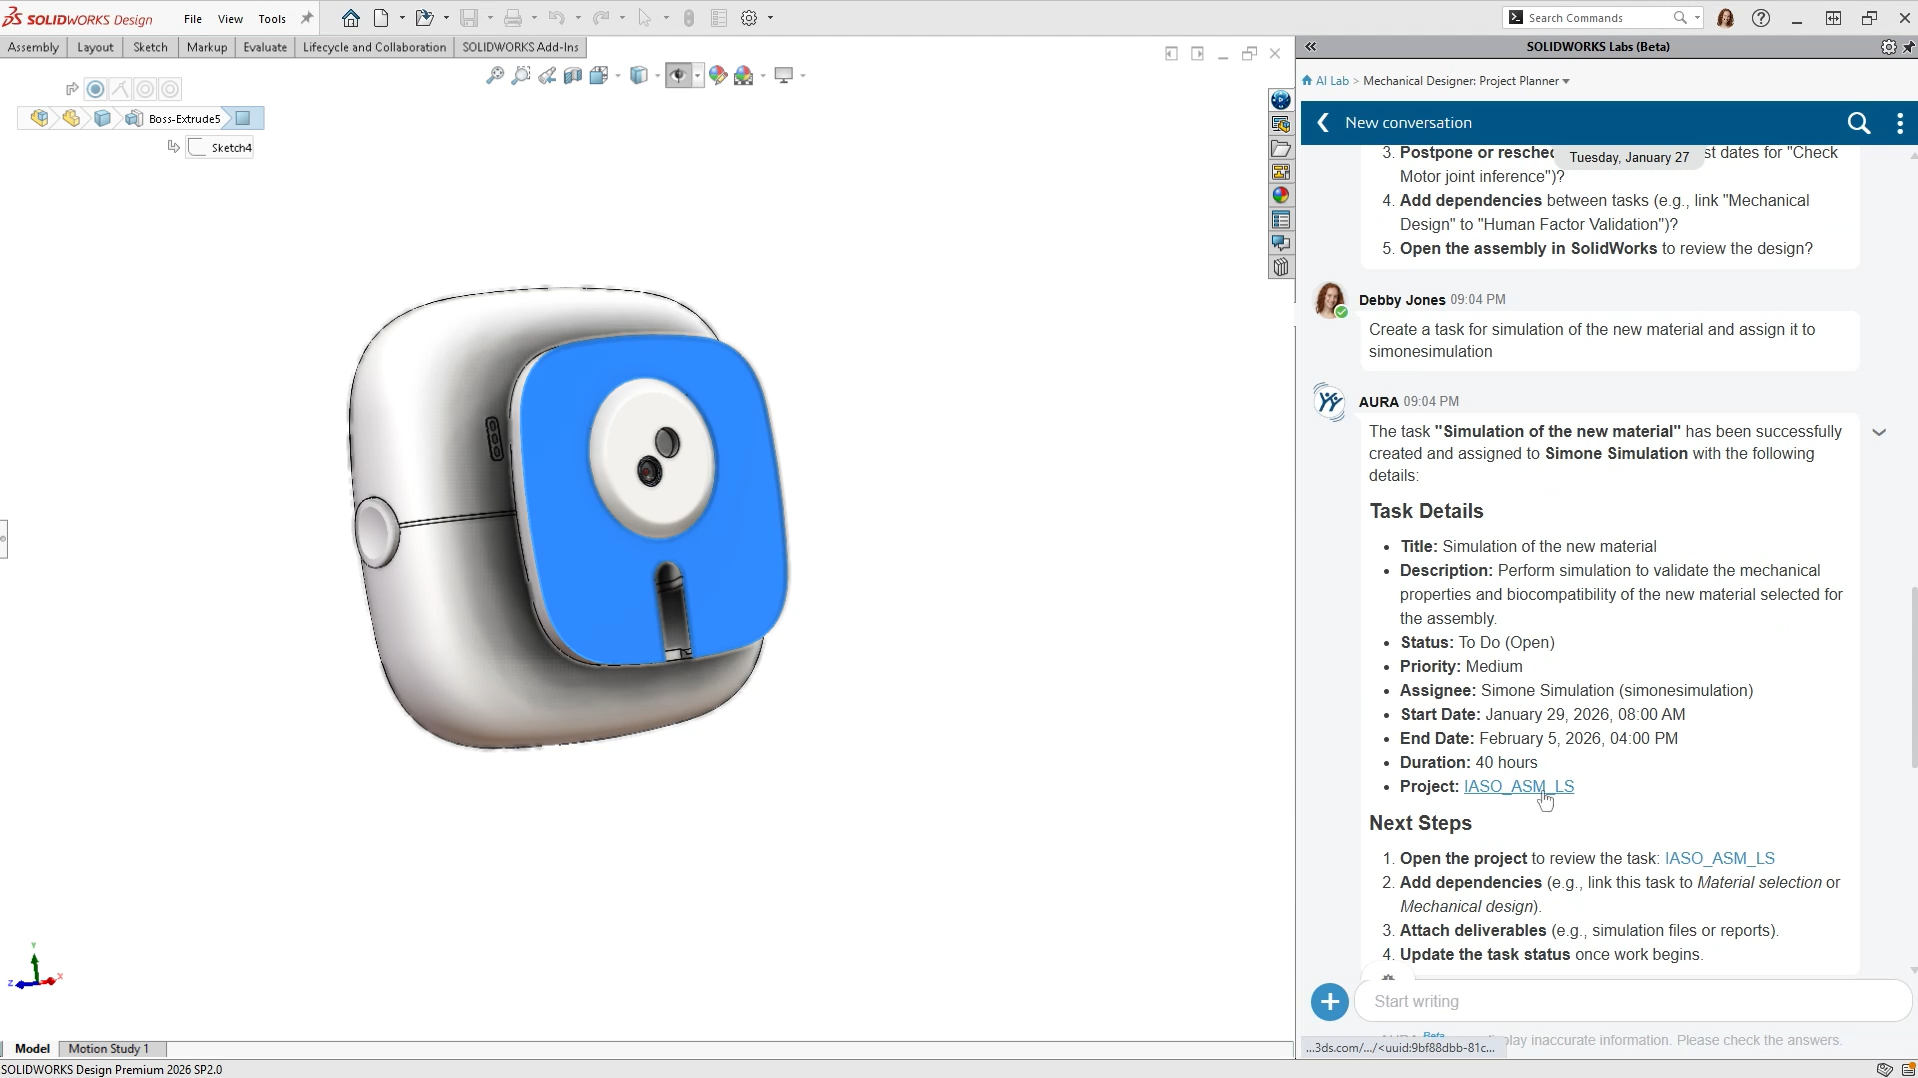
SOLIDWORKS has been expanding its AI roadmap aggressively through both desktop and cloud-connected tools.
Recent AI capabilities include:
-
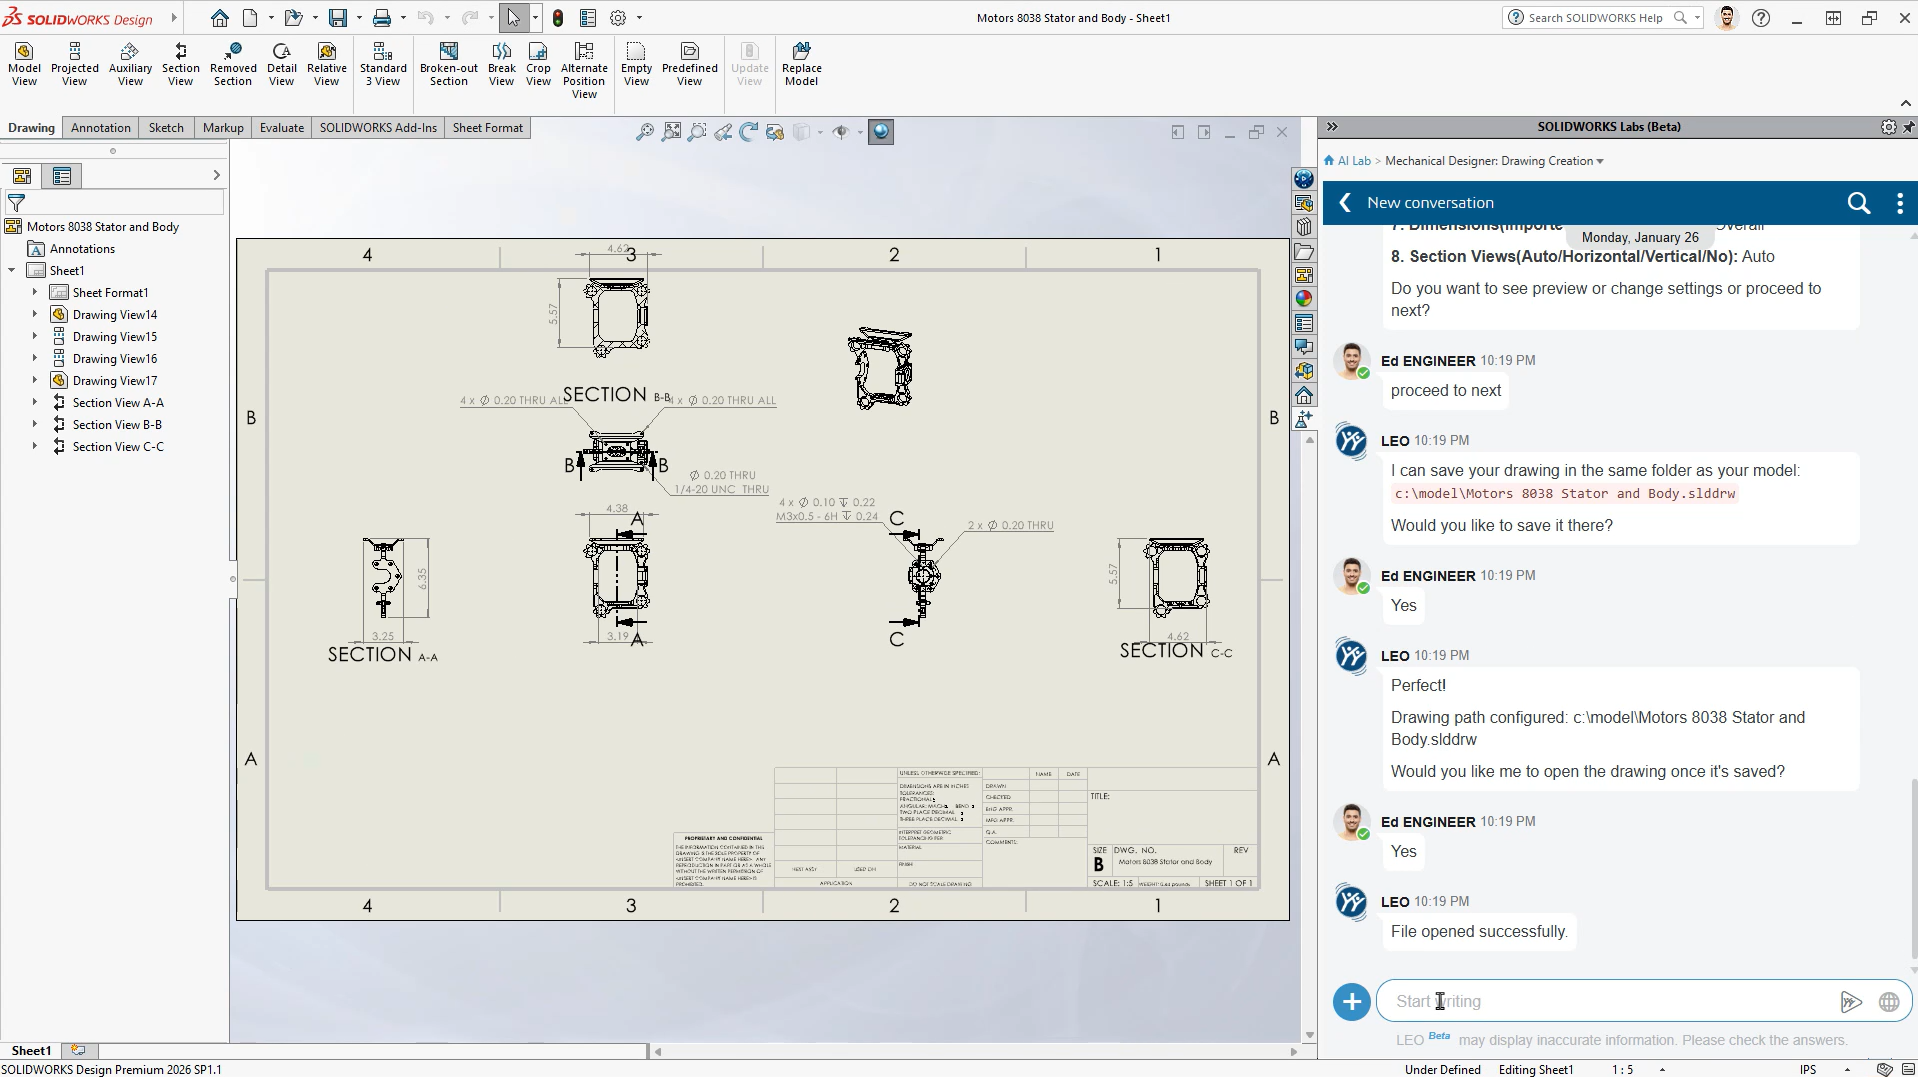
Auto-Generate Drawings
-
Command Predictor
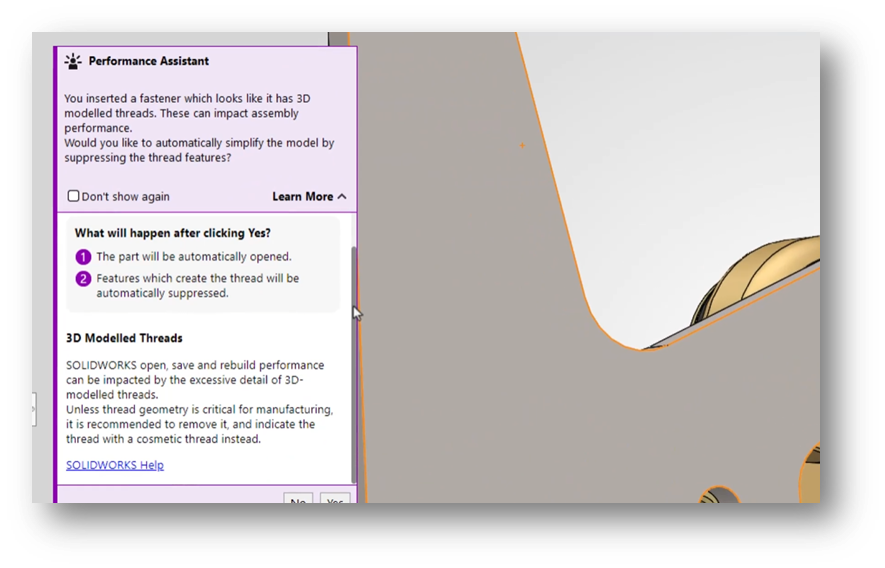
-
Fastener Recognition
-
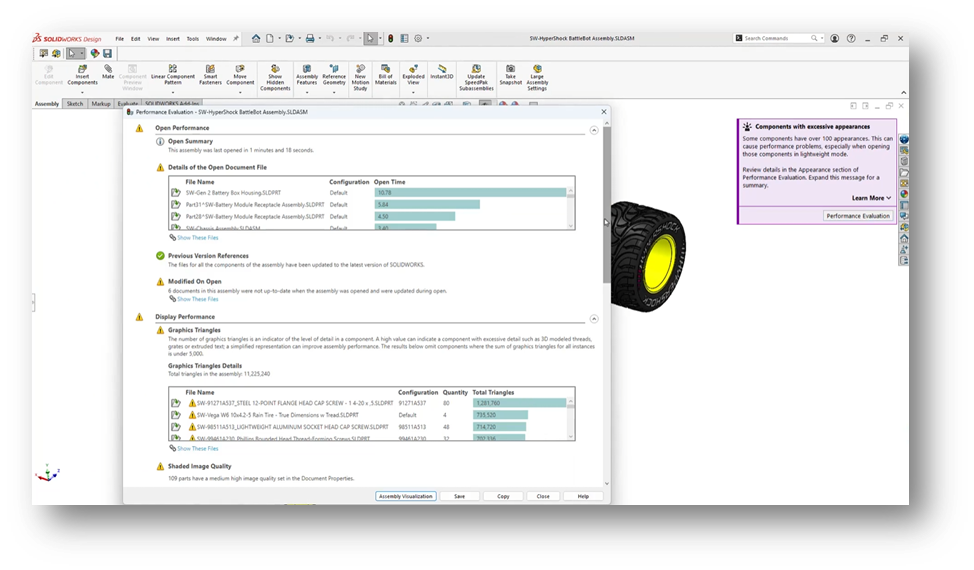
Assembly Performance Evaluator
-
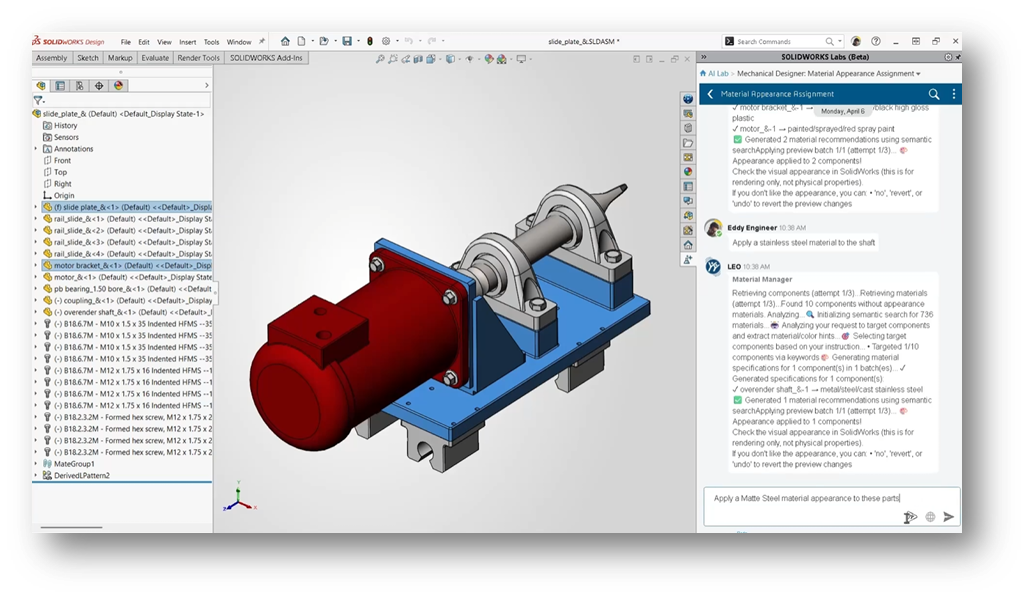
Material Appearance Manager
-
BREP-to-Parametric CAD conversion
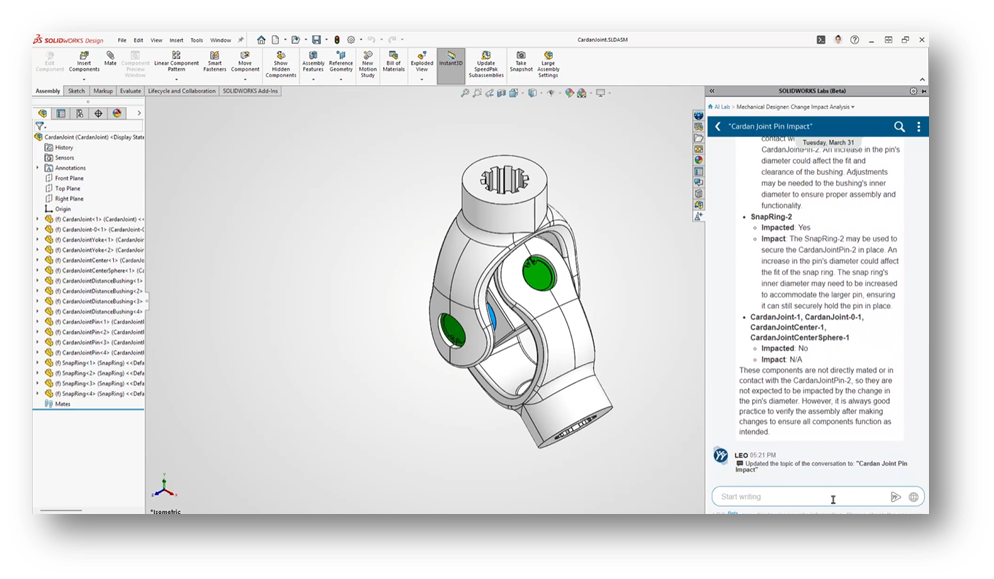
-
Design Change Impact analysis
-
PLM Model Insights
-
AURA AI Assistant
Rather than acting as a documentation assistant, many of these tools directly interact with engineering workflows and CAD data.
The goal isn’t replacing engineers. It’s reducing repetitive work, accelerating documentation, improving performance, and helping teams make decisions faster.
Which Platform Is Better for Growing Companies?
This is often the most important question.
For startups prioritizing fast deployment and simple browser access, Onshape can be an attractive option.
For companies expecting growth, increasing product complexity, manufacturing integration, simulation requirements, or future PLM adoption, SOLIDWORKS Design often provides a more scalable path.
One of the biggest advantages of the SOLIDWORKS ecosystem is that organizations don’t need to commit to everything on day one.
You can start with:
-
SOLIDWORKS Design
-
Cloud Services
-
Basic collaboration
Then gradually expand into:
-
PDM
-
PLM
-
Simulation
-
Manufacturing
-
Electrical
-
Cloud-native design
-
AI-driven workflows
Without changing CAD platforms.
Why work with Solidxperts?
Choosing software is only part of the project.
Implementation, training, data management strategy, and user adoption are often what determine whether a deployment succeeds.
At Solidxperts, we work with organizations every day that are evaluating:
-
SOLIDWORKS Design
-
SOLIDWORKS xDesign
-
Cloud Services
-
3DEXPERIENCE
-
PDM and PLM solutions
-
CAD migration projects
Whether you’re moving from another CAD platform, modernizing your data management strategy, or exploring AI-enabled workflows, our team can help you build a roadmap that fits your reality not just a software brochure.
The goal isn’t simply choosing a CAD tool.
It’s building a design environment that will still make sense five years from now.
Looking to go further?
-
Check out more tips and tutorials on our YouTube channel.
-
Explore best practices with our experts.
-
Or reach out to our team, we’re here to help you get the most out of your platform.


Any questions? Need help? Ask one of our experts.
Whether you’re ready to get started or just have a few more questions, you can contact us toll-free: